So I’m always craving something spicy, and I simply love garlic bread, so I found myself looking at Garlic Knot Recipes for this week’s secret recipe, yeast. Low and behold, I found this gem (http://whiteonricecouple.com/recipes/garlic-knots/). It was a sign, this was going to be my first SASE Iron Chef dish. And it didn’t come out too bad either!
-

Spicy Mini Garlic Knots!
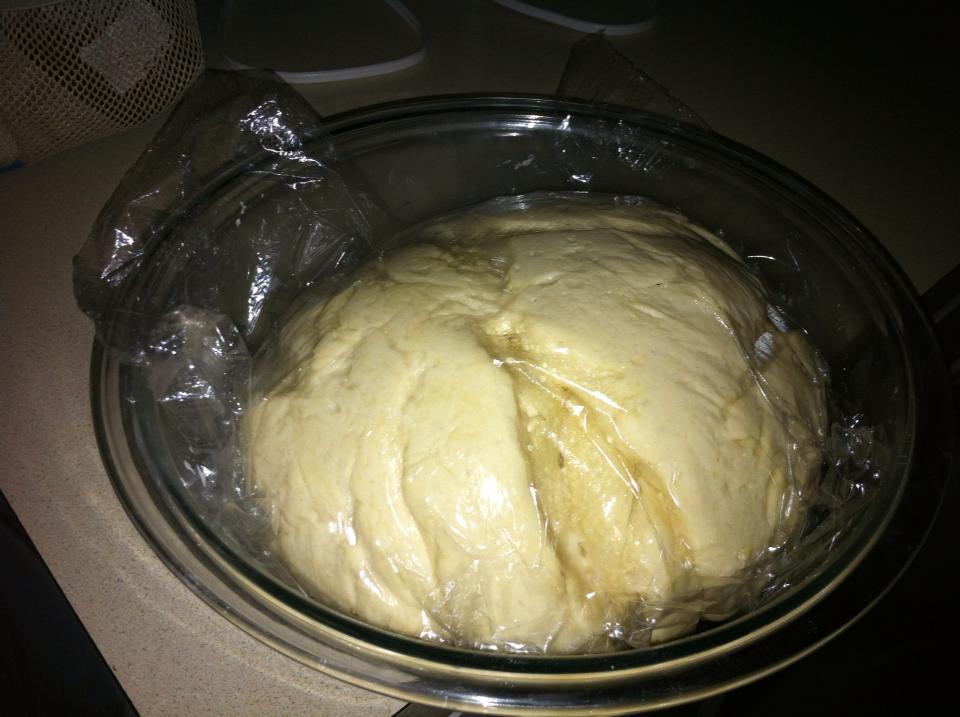
So I set off in making them Thurs night, so I could bring them into work for Friday…but I realized the dough will take much longer to rise than I had planned, so I made the dough and just let it sit in the fridge. This was probably the hardest part, and the only part I forgot to take pictures of. I think I put too much yeast in, and I didn’t realize I was going to be using 5 and a half cups of flour. So when I threw the ingredients together, it dawned on me that I could never knead this much dough at once. So I was like, oh no worries, I’ll just split it into two pieces. Can you believe, two pieces were still too large? As I was working on a piece, I had to split it up again, thereby breaking the original into four quarters. I’m still not sure if I kneaded correctly, or if it was enough, since as I was working on the second quarter piece, the half piece I had originally cut was now double its original size. I didn’t know what to do, so I just cut it into halves again and repeated what I had done for the first half. After one night in the fridge, it came out looking like this.
-

12 hours later…
To be honest, I wasn’t sure how it was supposed to look. The only experiences I had with rising dough were a couple years ago at a friend’s house, where she had a hand mixer, and recently, looking at Virak’s pizza dough and Good Eat’s video. And man, they didn’t look like this… This looked like a Styrofoam ball, but was sticky to the touch. But after setting it down onto the cutting board and getting some dough and oil on it, it looked like freshly bough pizza dough!
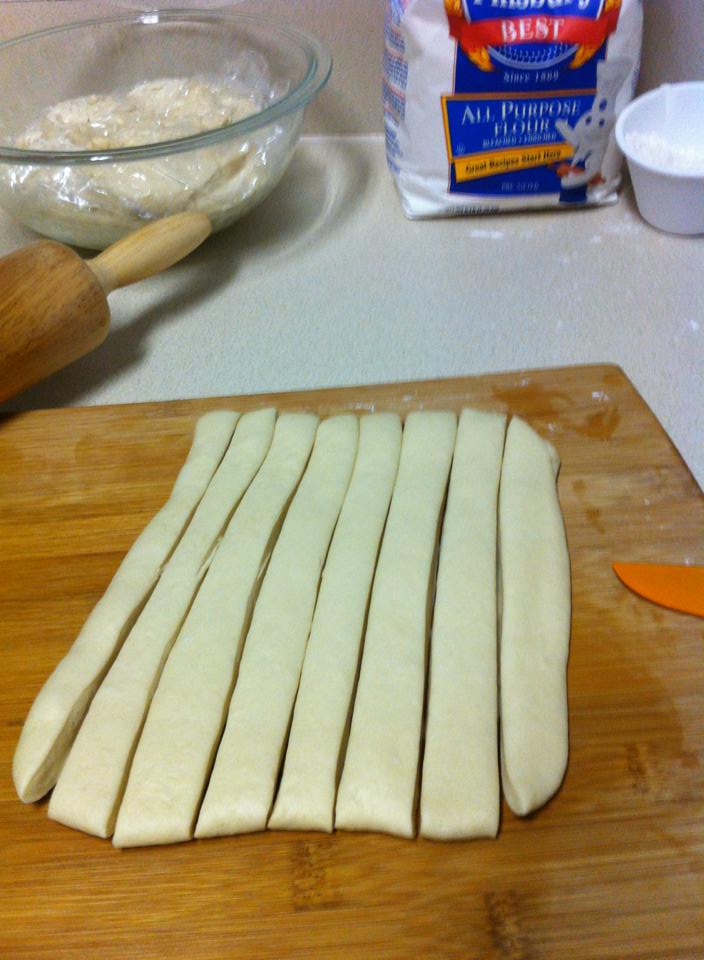
I’m terrible with dimensions and mentally sizing anything. If I don’t have a ruler, you might as well not have given me the measures. And yet…I have no ruler. So at this point, I was just rolling the dough to be somewhat of a rectangular shape, or somewhat like bread sticks. After multiple attempts, I finally achieved something like this.
-

Dough cuttin’
Quite frankly, I’m still not sure how I got it to look like that. But it was good enough for me. You can tell I tried to cut them about the same width, but did a poor job of such. Oh well, I tried. At this point, I almost just threw it into the oven, just made bread sticks, and called it a day. But I was so close to my goal, for the sake of this post, I decided to just chug along.
The actual task of rolling them into knots was rather easy. It was basically just tying a knot. Initially, I was worried that the little knob on the ends would be too small and it would unravel in the oven, but at the same time I couldn’t stretch the dough too thin. But it proved to be no problem in the oven!
-

Dough Knottin’
As you can tell, I had originally just tied em together and figured they’ll just be like Pillsbury’s Rolls. But after a few, I decided to cut the dough in half and make mini knots! They’re more bite size and its easier to watch how much you eat, as well as being adorable. So I just sat em on the paper and let them rise a little more. I was actually pretty skeptical about this step, since I didn’t know if this dough would rise anymore, given how I had originally let it rise 8 more hours than intended, but the yeast is still hard at work, and when I was done knotting, I did notice that they had risen some more. Time to throw these babies into the oven for 10 minutes!
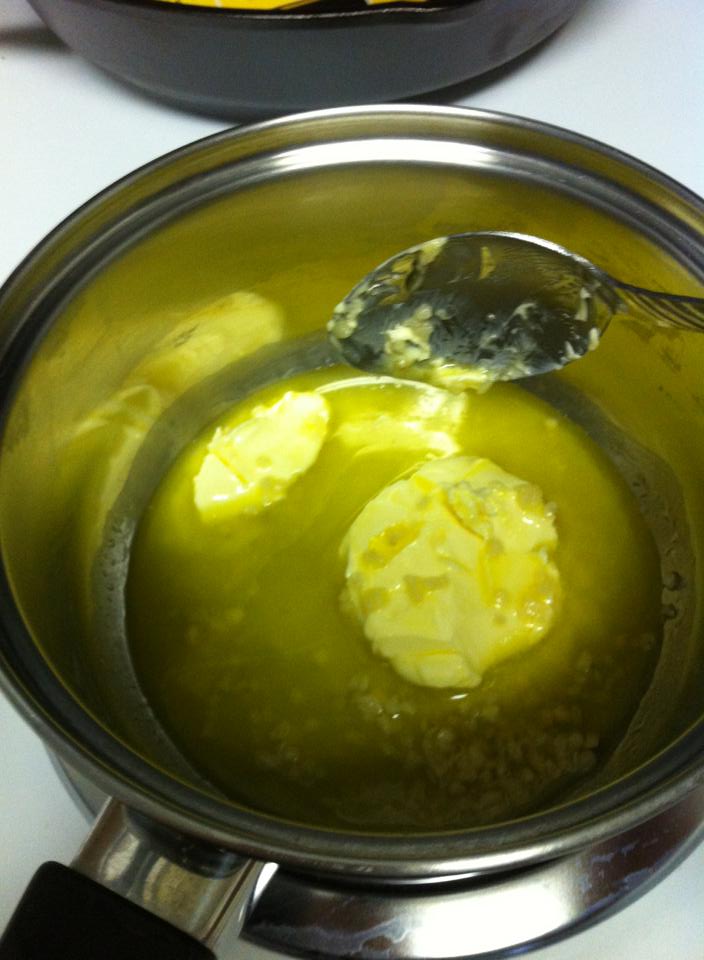
Meanwhile, I got started on the most important part, the sauce. The recipe called for a lot of olive oil and butter, so when I first made it, I was a little disgusted…I mean, look at it, that’s a lot of better and oil! But not knowing anything, I just followed the recipe blindly. I threw in some garlic hot sauce and sriracha, but I couldn’t get an accurate measure of flavor by just trying a small amount, so I had to wait for the knots to come out of the oven.
-

Spicy Sauce
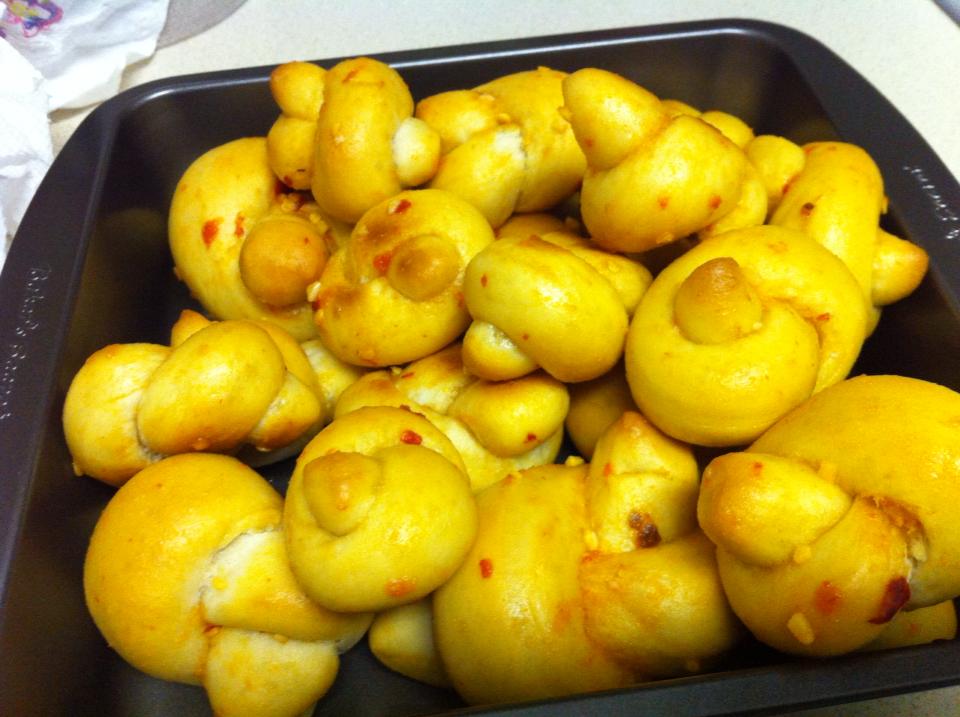
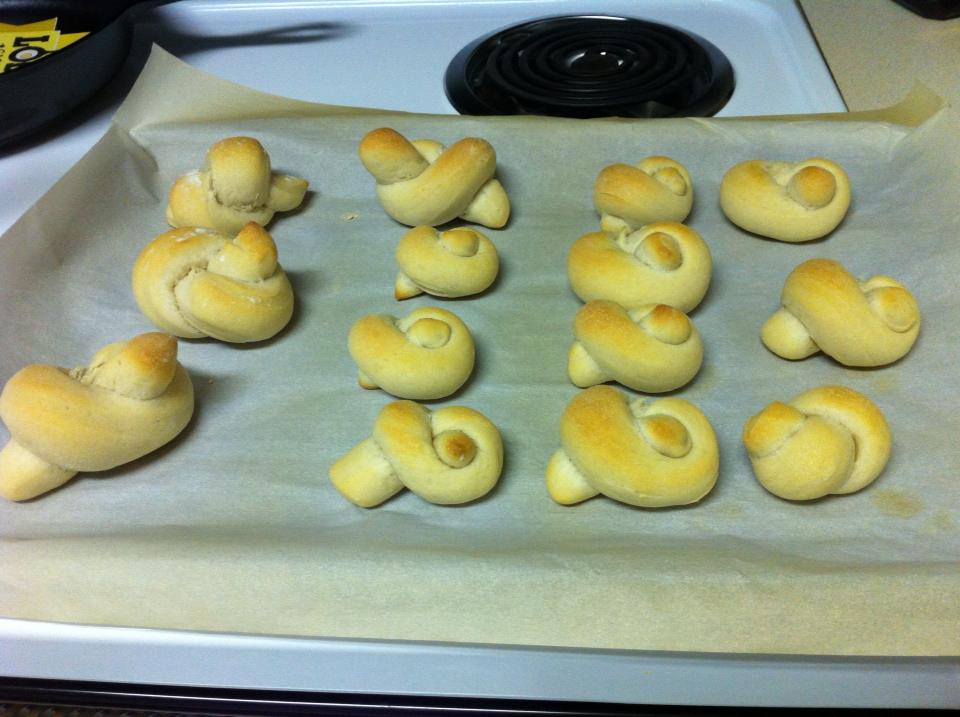
And when they came out, oh man…took my breath away! They’re beautiful! Much better than I had imagined them…
-

Fresh Outta Oven
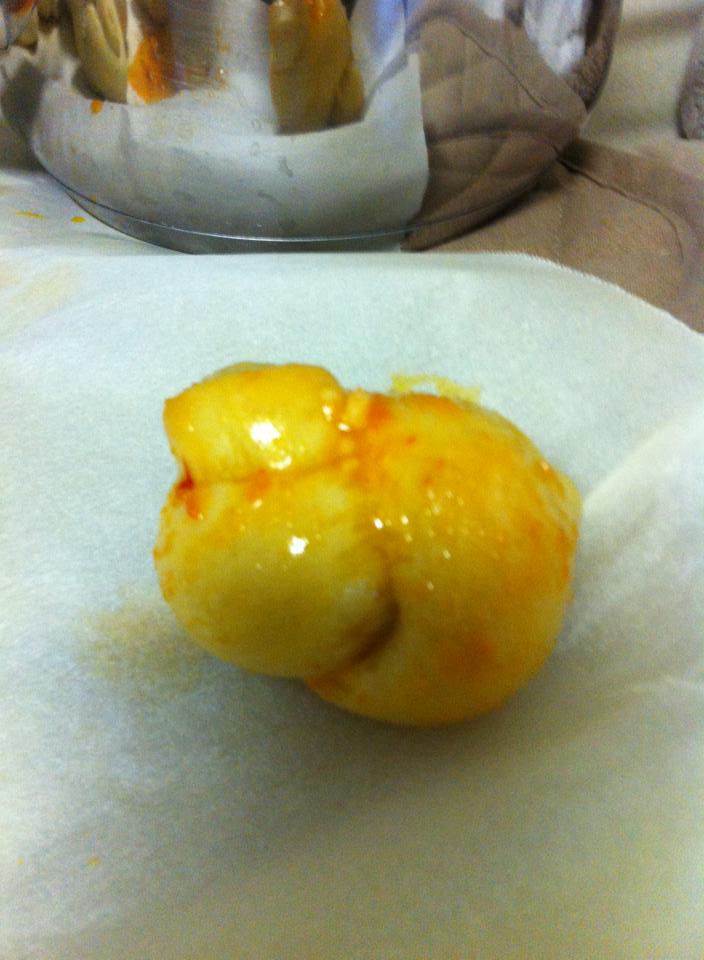
But I still had no idea for the flavor, so I took a little guy and coated it with the sauce with a brush.
-

A close up of a mini knot
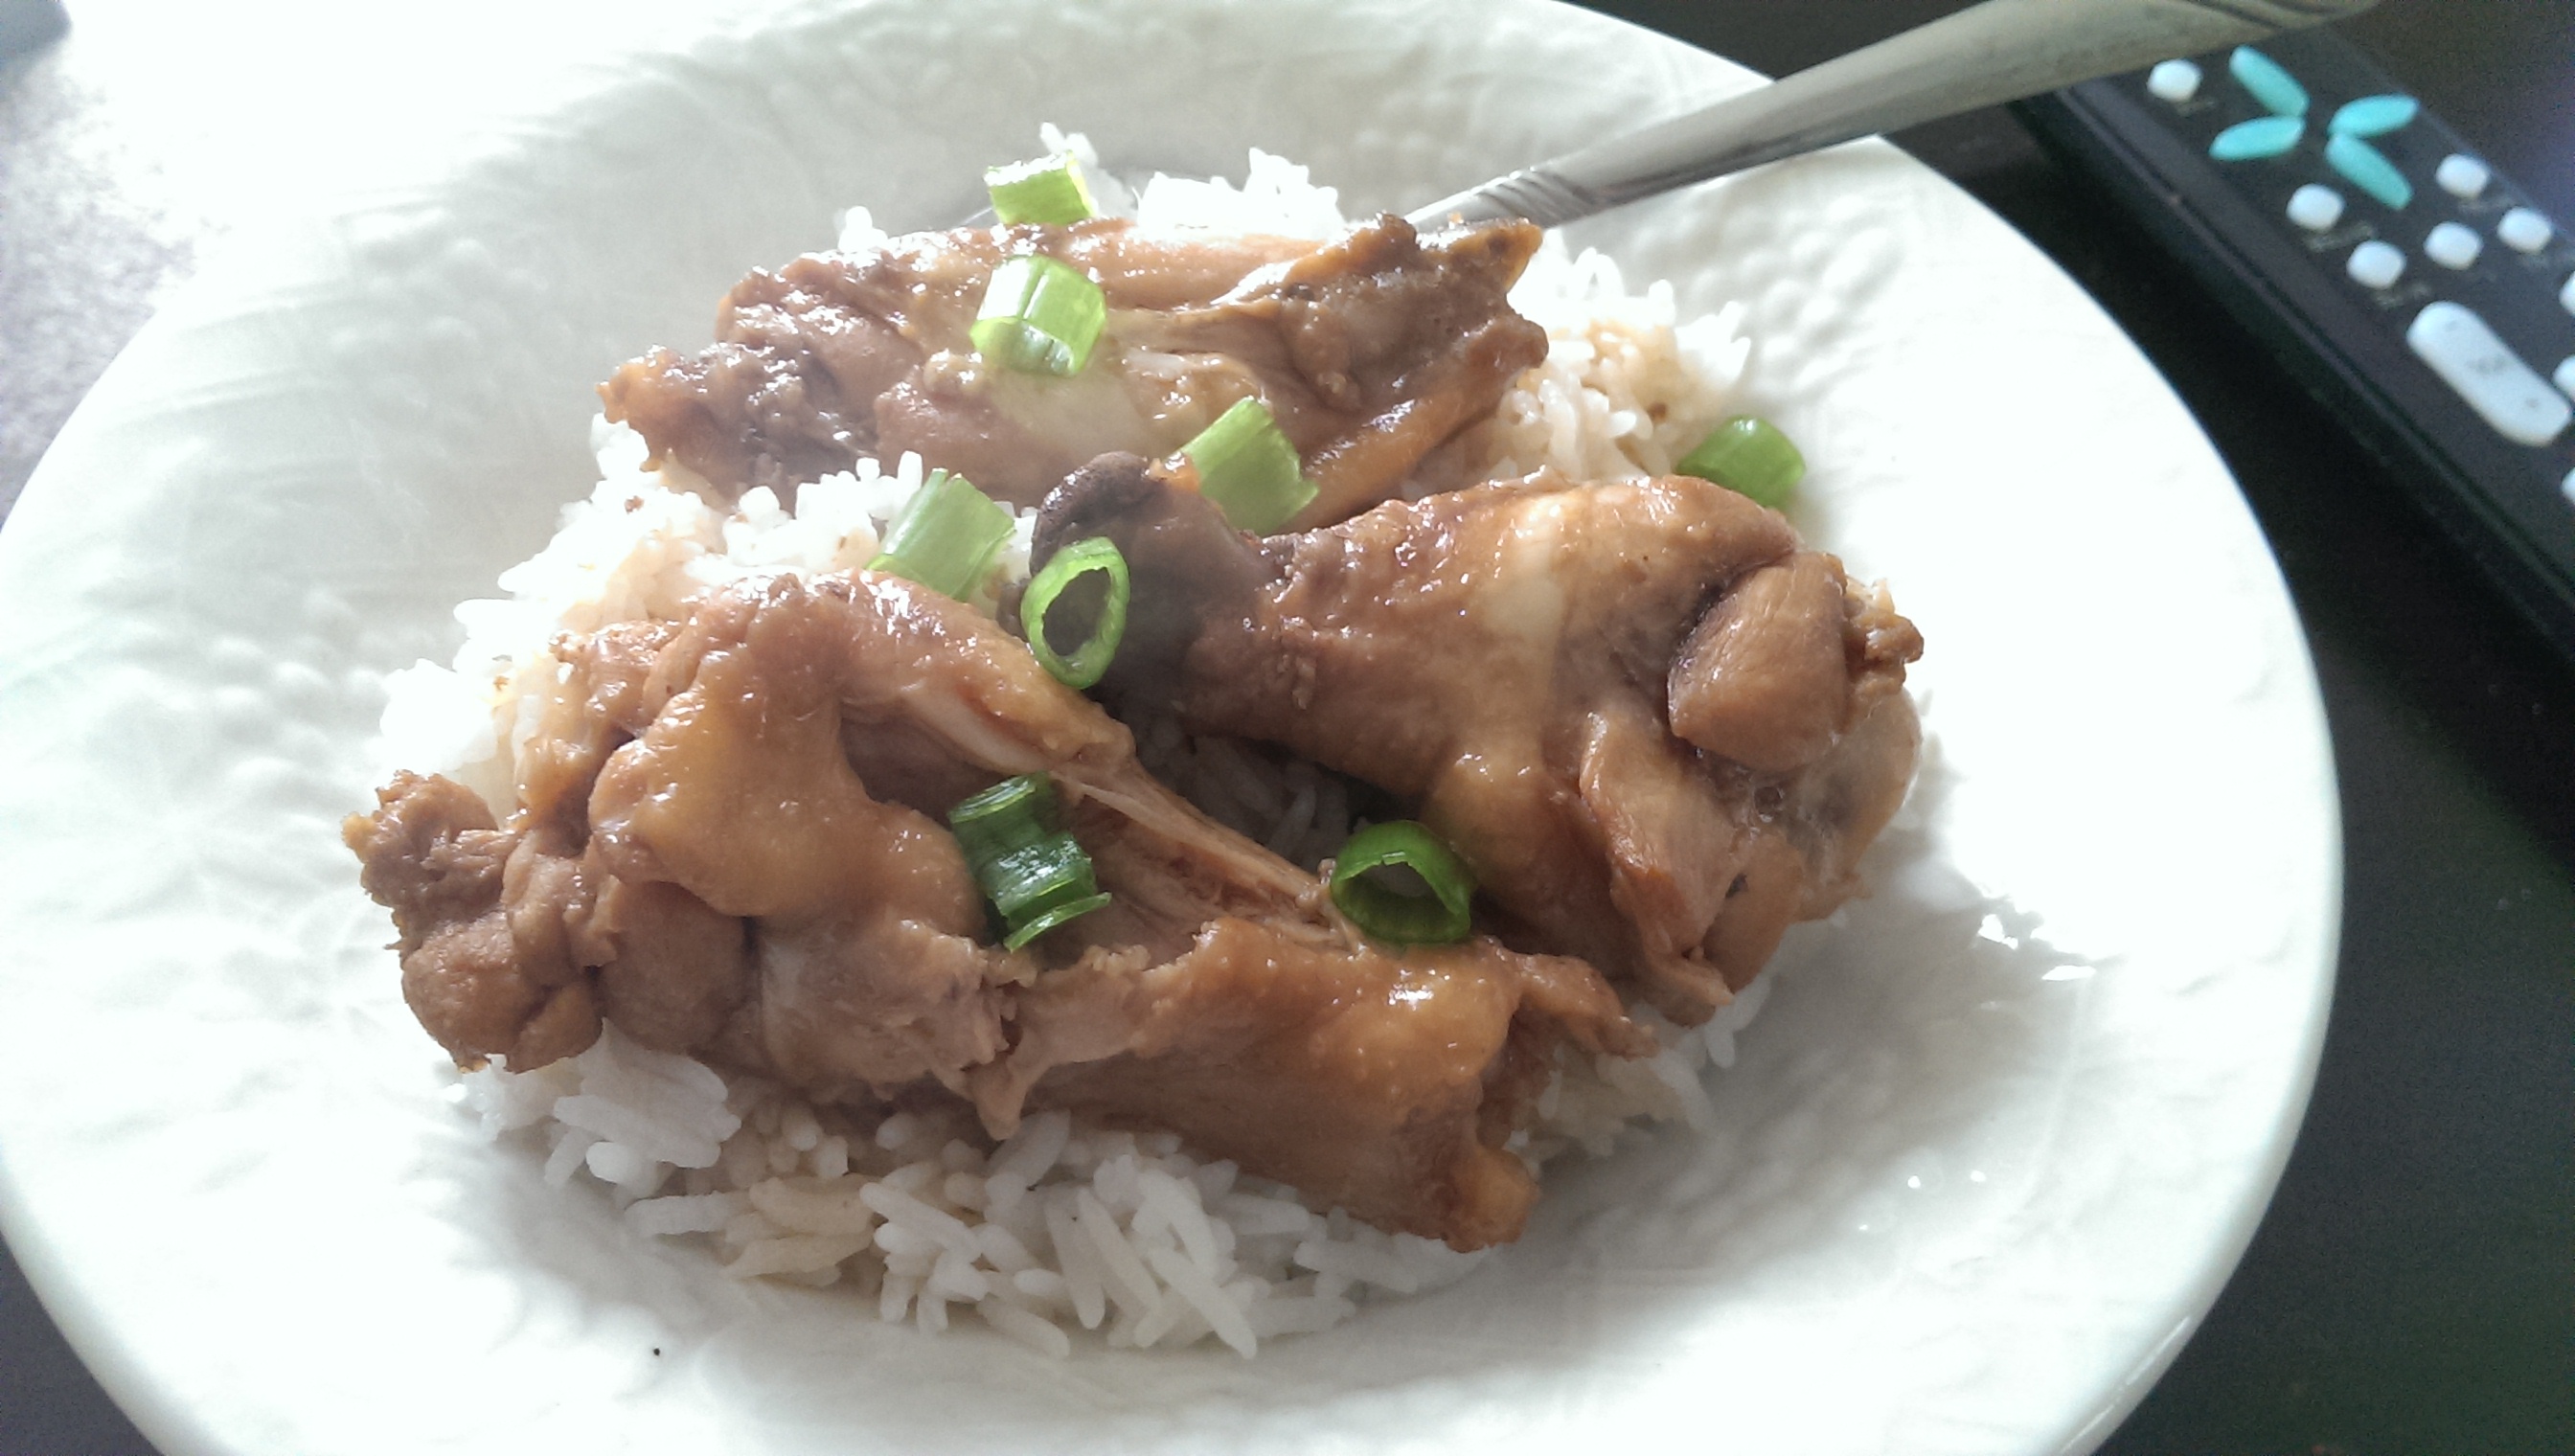
Isn’t it cute? It turned out okay, the sauce wasn’t bad. I had to add some hot sauce, but overall, not too much change. But now that I’ve tasted it, and know what to expect next time, I may use less oil and butter. But at first, I was just amazed how I didn’t mess up as badly as I thought, but it turns out, after a little while, as they cool down a little, they soften up! And that just makes these little guys heavenly! I do have to admit, I gave up on trying to brush them, the garlic refused to stick and the oil just got everywhere, so I decided to just toss em. Threw them all in a glass bowl and just shook em up.
And as you all have already seen, it came out beautifully! I still have the other half in the fridge and I plan on making them on Sunday so I can bring them for my co-workers on Monday! I’m excited, I hope they like them as well!
Thank guys for bearing with me the entire post, I know I am a little long-winded! 🙂
Until next week!
– Chef JKwong