Last December seems so long ago. Last December I graduated with my Bachelor of Science in Food Science and Human Nutrition. Last December was filled with the archetypal milestones of a college kid. Last December I had no idea what was next. Last December a local dim sum restaurant opened. Last December I ate turnip cake.
Just the Beginning
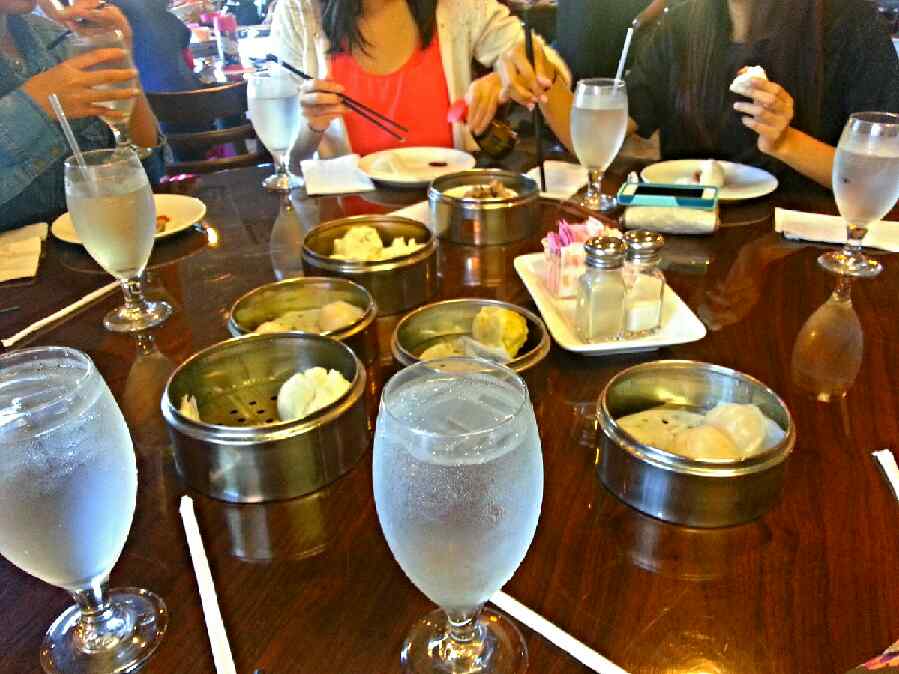
The day before my graduation, my HD planned a lunch with me at the new dim sum place. I’m not sure if anyone had been there yet, but rumor had it that it got packed pretty fast, had a small parking lot, and had customer’s cars towed when parked next door. So many logistics went into one lunch. The majority of them lived on my side of town and we planned to drive together, and the other one who lives closer to the restaurant was going to get there early to grab a table. Now this restaurant typically has a line at the door even before it opens, and dim sum is only served at lunch time.
Let me explain something first – dim sum is a Cantonese Chinese term used to describe bite-sized portions of different foods carried in small steamers and pushed around a cart.

In the Middle of the Street
But of course knowing the Etas, silly things were bound to happen. One of them (who didn’t drive a car) would always wait 5 minutes before the meet up time to ask someone (who would already be there) to pick her up. One didn’t wake up to her alarm and had to meet us there. The girl who went to save a table, grabbed the family style table at open, sat there by herself for a good 30 minutes while other families would glare and give her dirty looks for saving it. The rumors weren’t rumors – it was teeming!! Where were the rest of us? Looking for parking. Lo and behold the tiny parking lot was full and we parked across the street. Selfie while crossing the street!
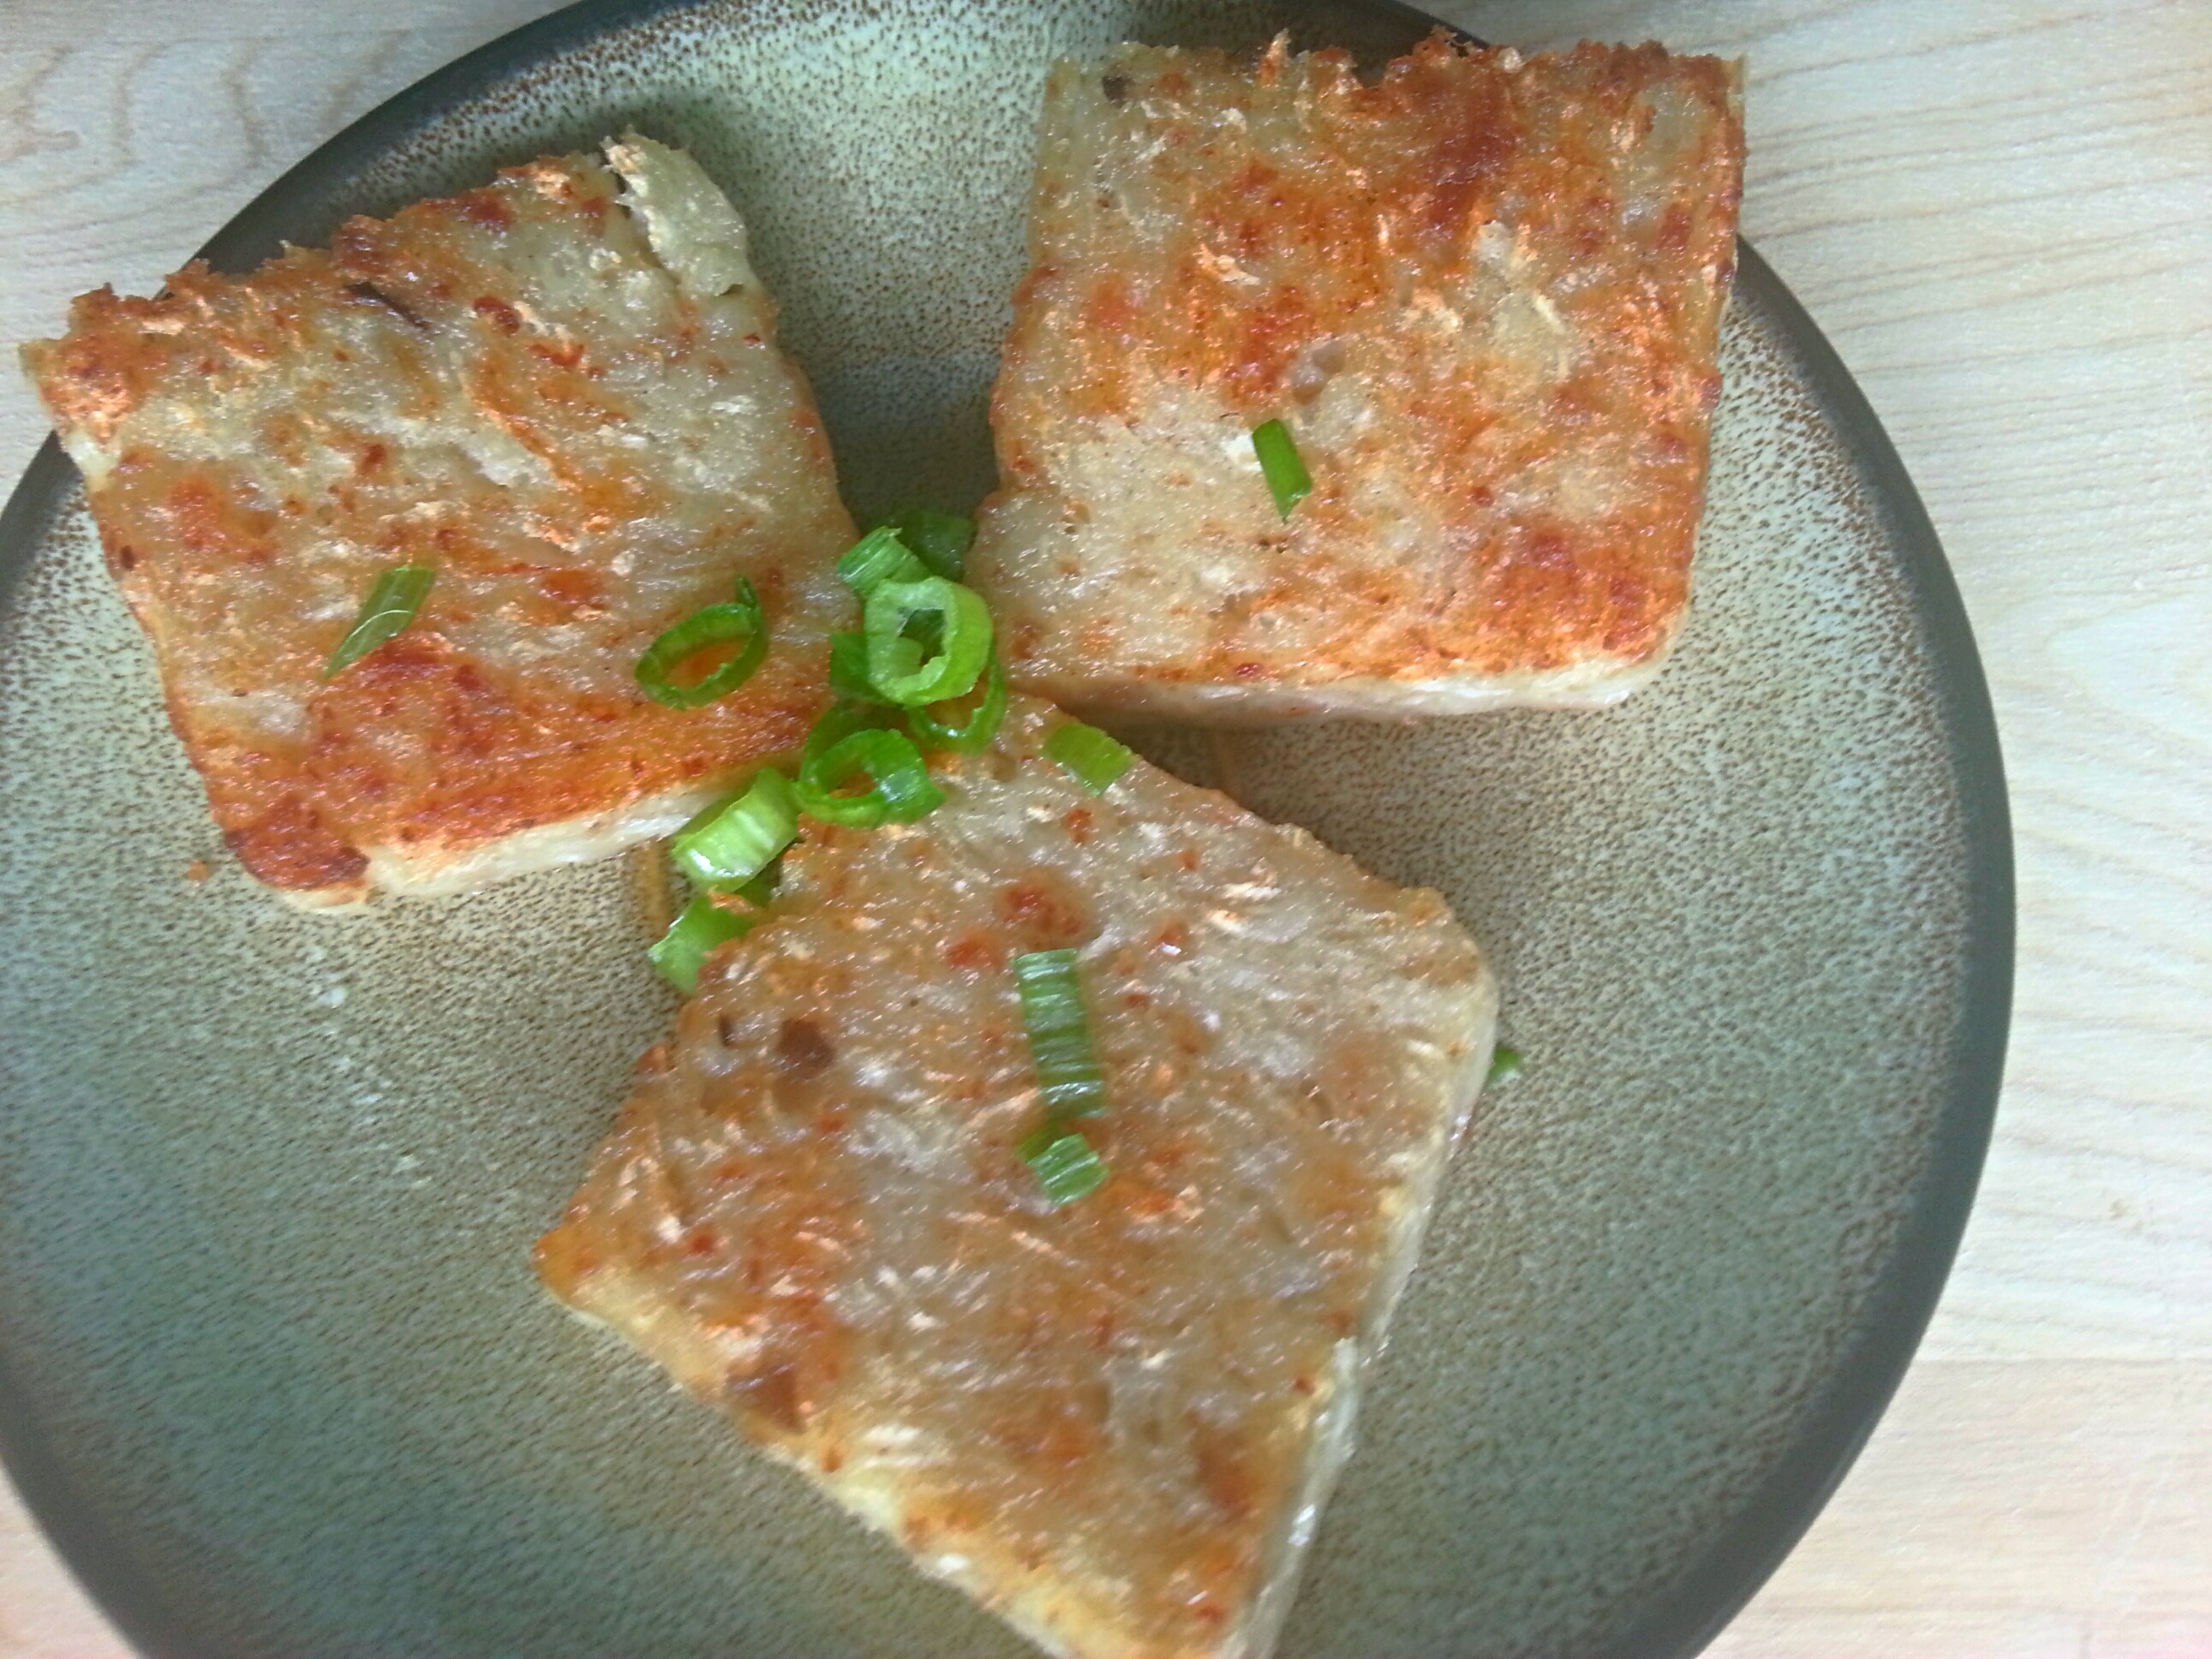
Quickly we all took a seat while calming down the slightly panicked one and then the carts came. Grabbing dishes and dishes of char siu bao (pork stuffed buns), ha gao (shrimp dumplings), phoenix claws, shaomai, and spareribs, we feasted. One of them goes, is that a peanut in the fried rice? It was a peanut, and her lip swole. Then all of a sudden, this small plate with three speckled white squares with a golden brown coating lands on our table. “Turnip cake!” someone said.
I split mine with the girl next to me, and I wished I hadn’t.

Daikon, not Chinese Radish
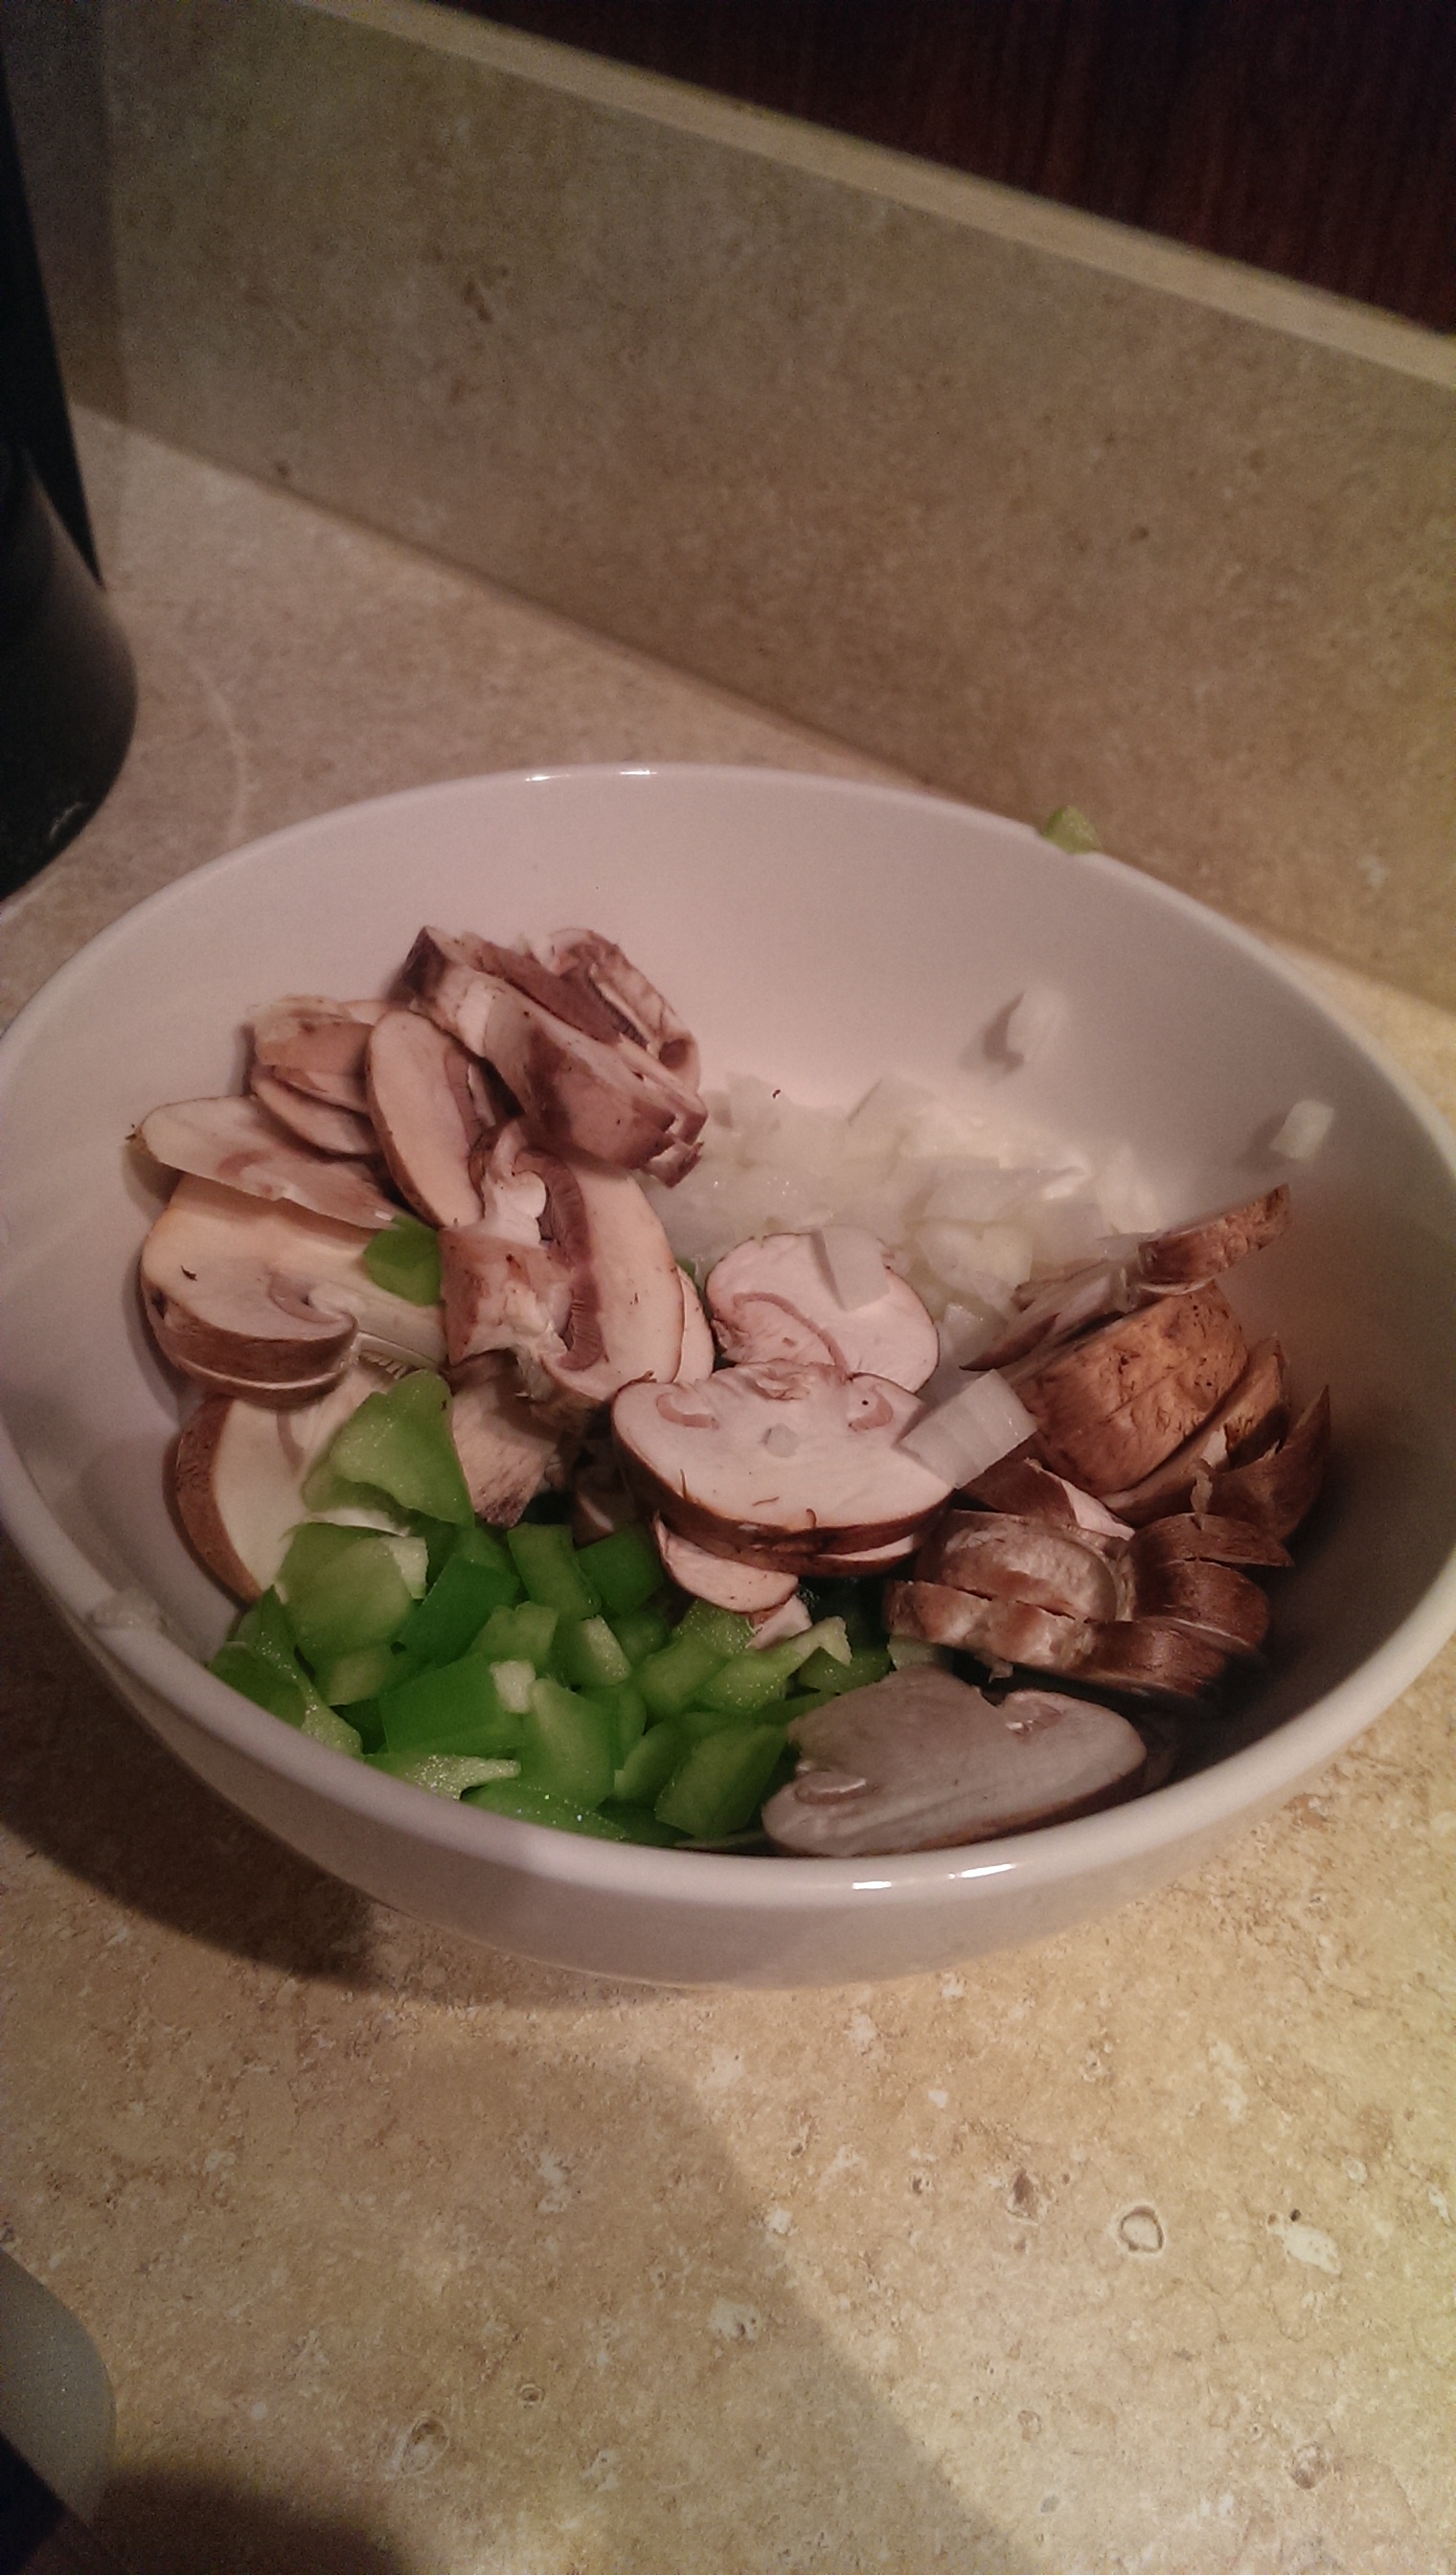
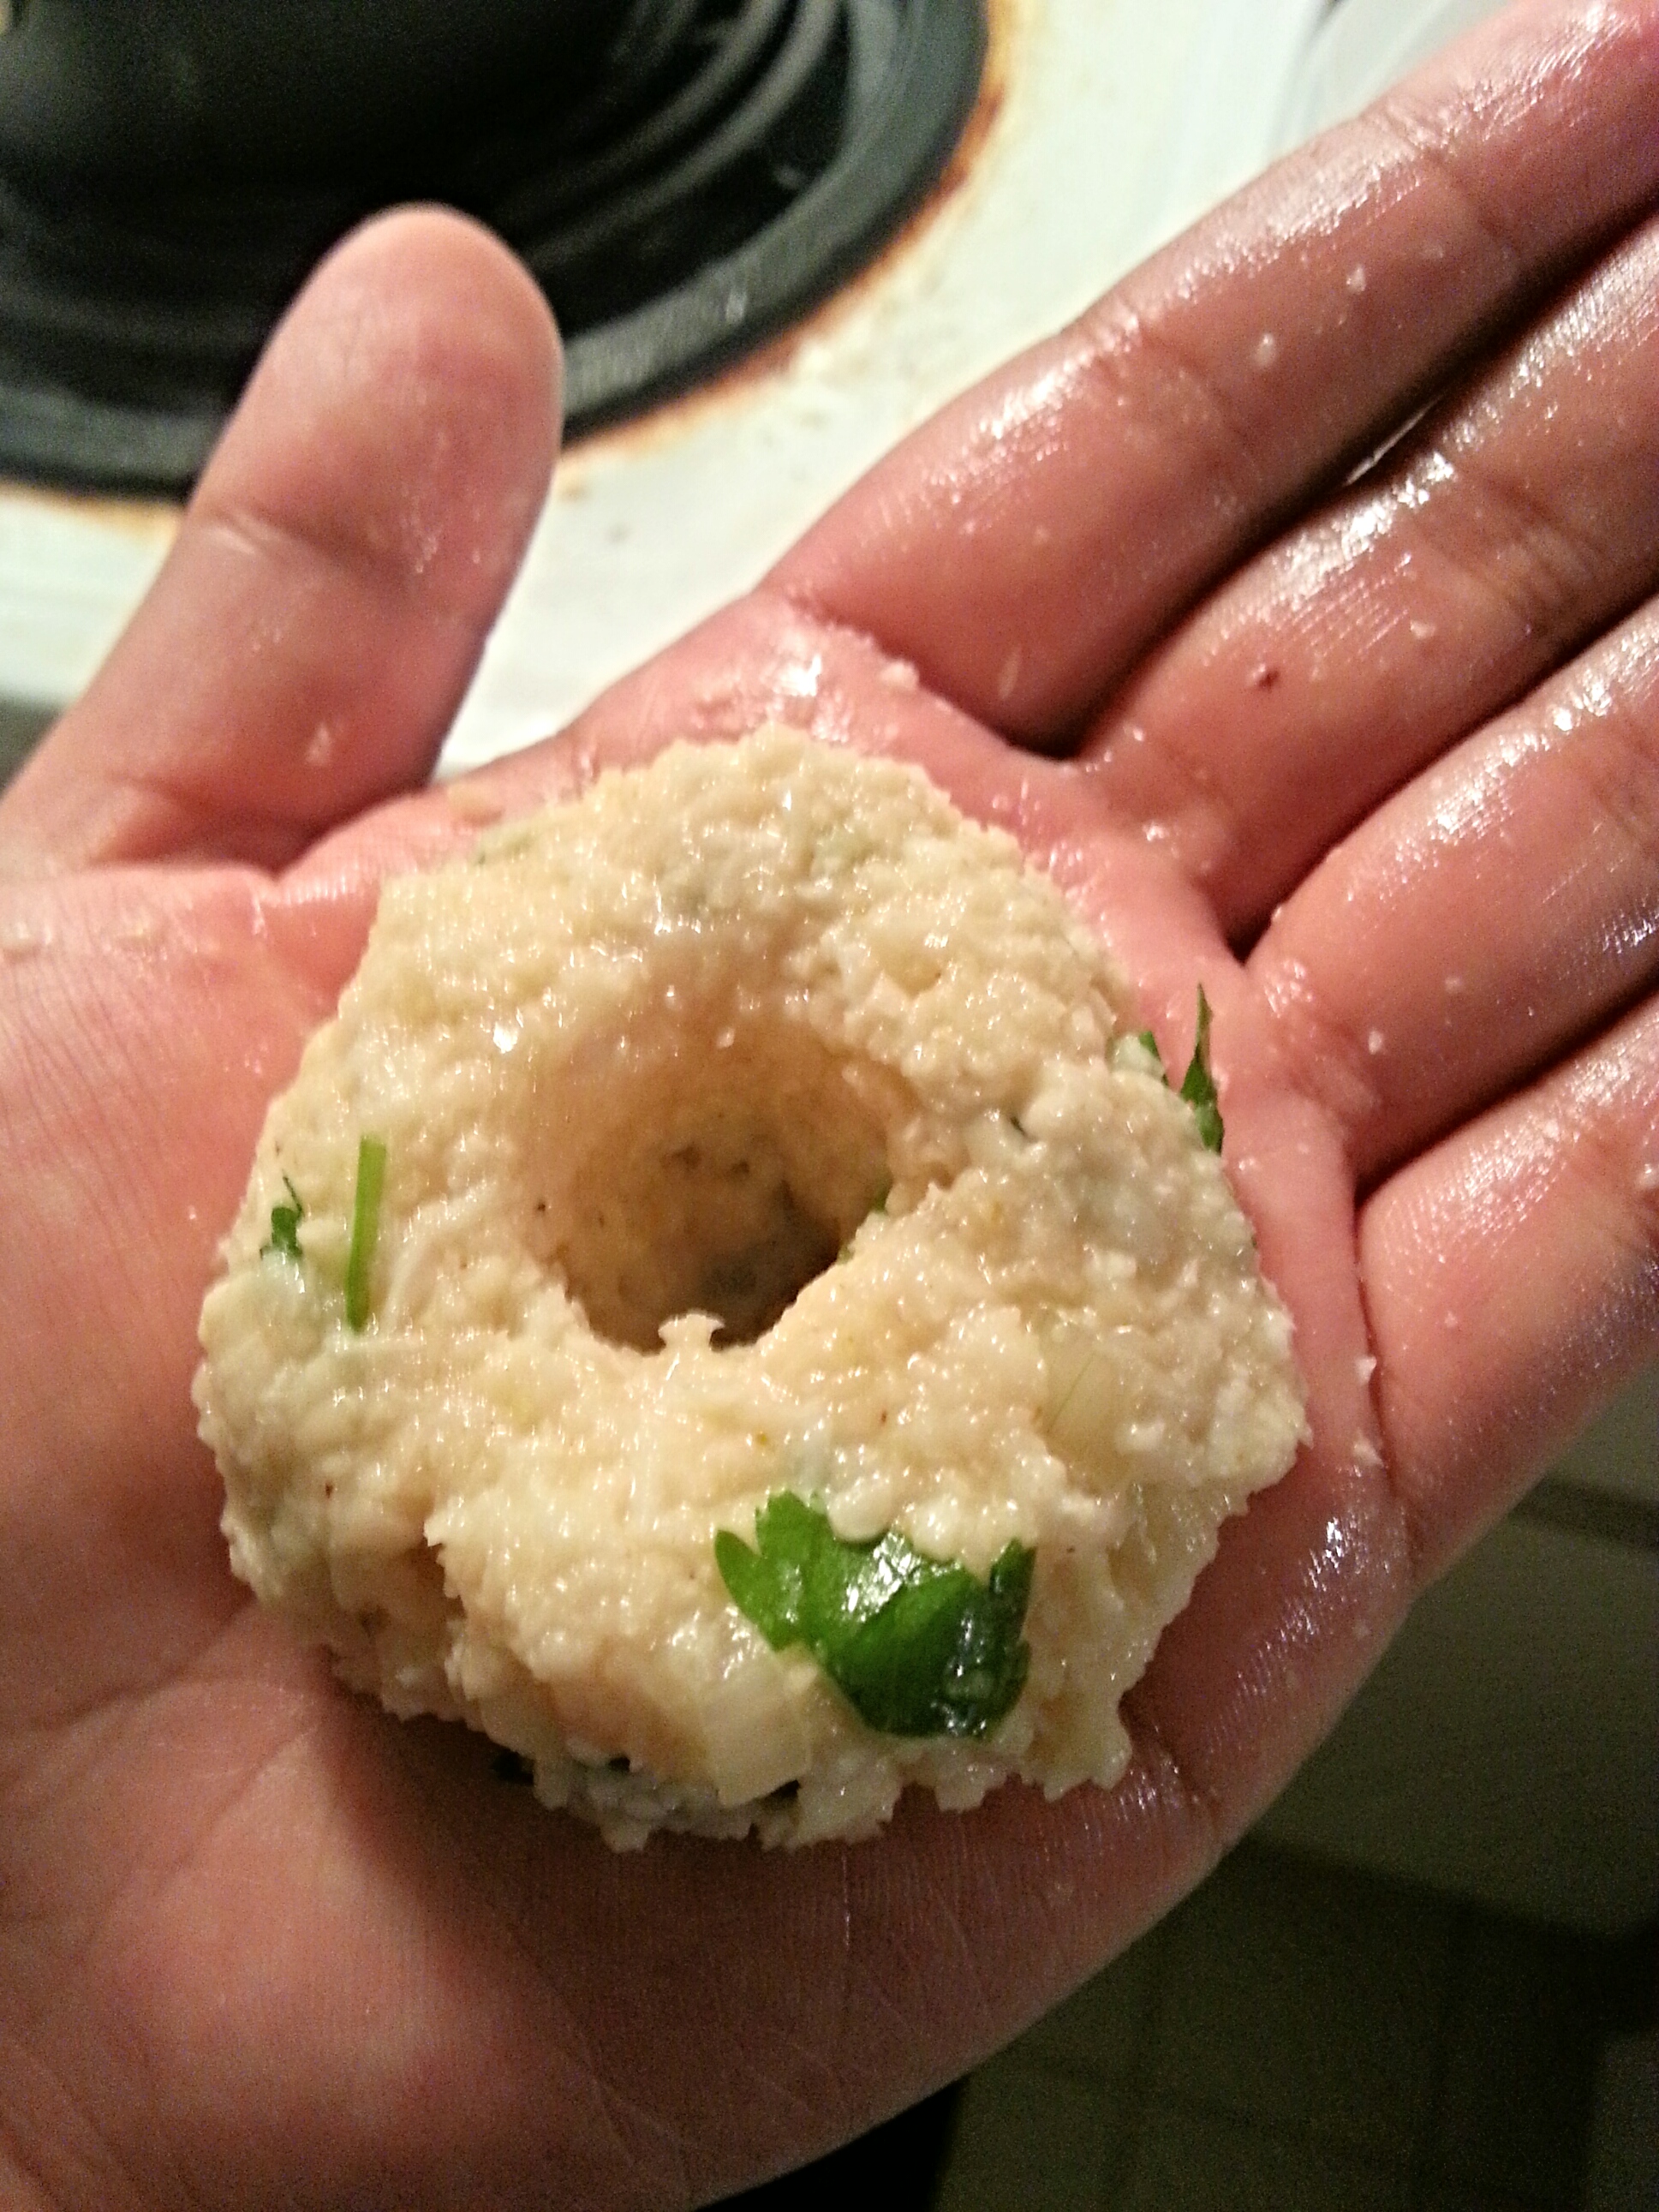
Turnip Cake
- 2 ½ pounds shredded daikon
- water (enough to cover daikon in pot)
- 2 tsp salt
- 3 tbsp dried shrimp
- 3 whole shiitake mushrooms
- 1 tsp garlic
- 4 oz. ground turkey (traditionally Chinese sausage is used)
- 1 tbsp white pepper
- 1 tsp soy sauce
- 1 ¼ cups rice flour
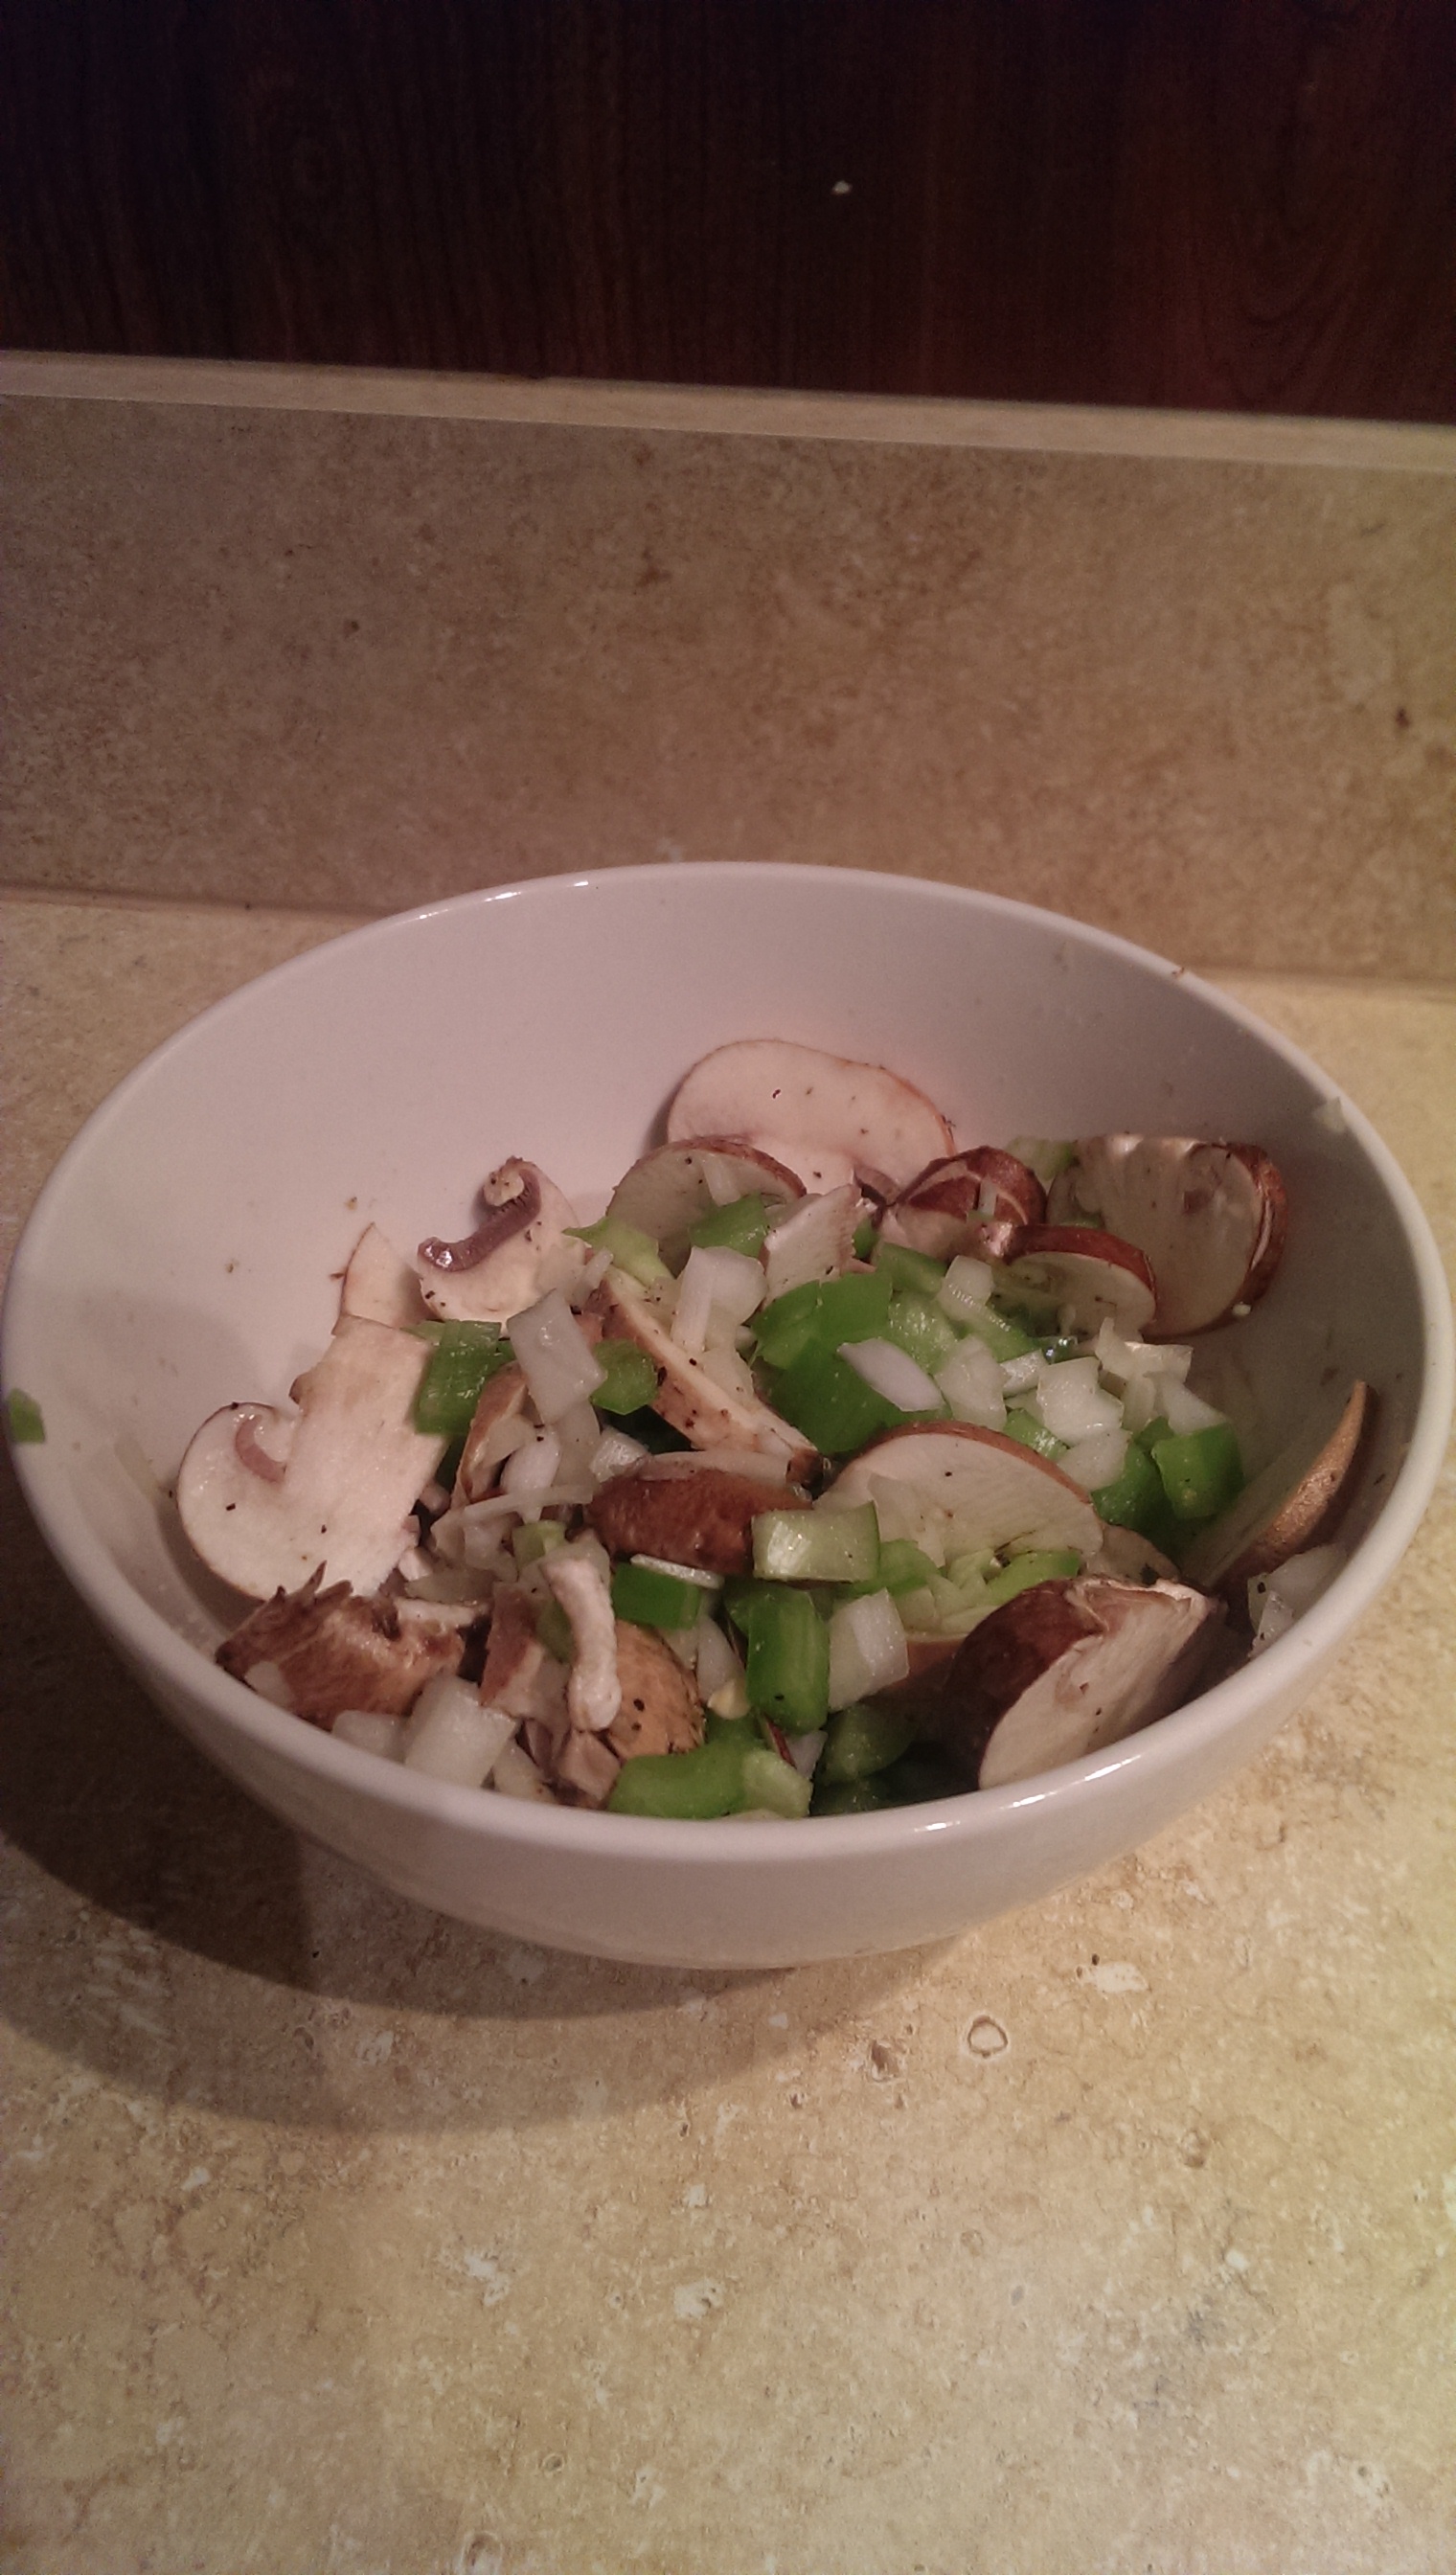
- Place the dried shrimp and shiitake mushrooms in a bowl of water to rehydrate for at least 2 hours.
- Meanwhile peel the daikon and use a food processor, mandolin, or (as I did) a grater to shred the daikon into matchsticks.
- Put the daikon in a large pot and fill with enough water to submerge the daikon. Heat the pot to medium to high heat for 15 minutes – daikon should soften.
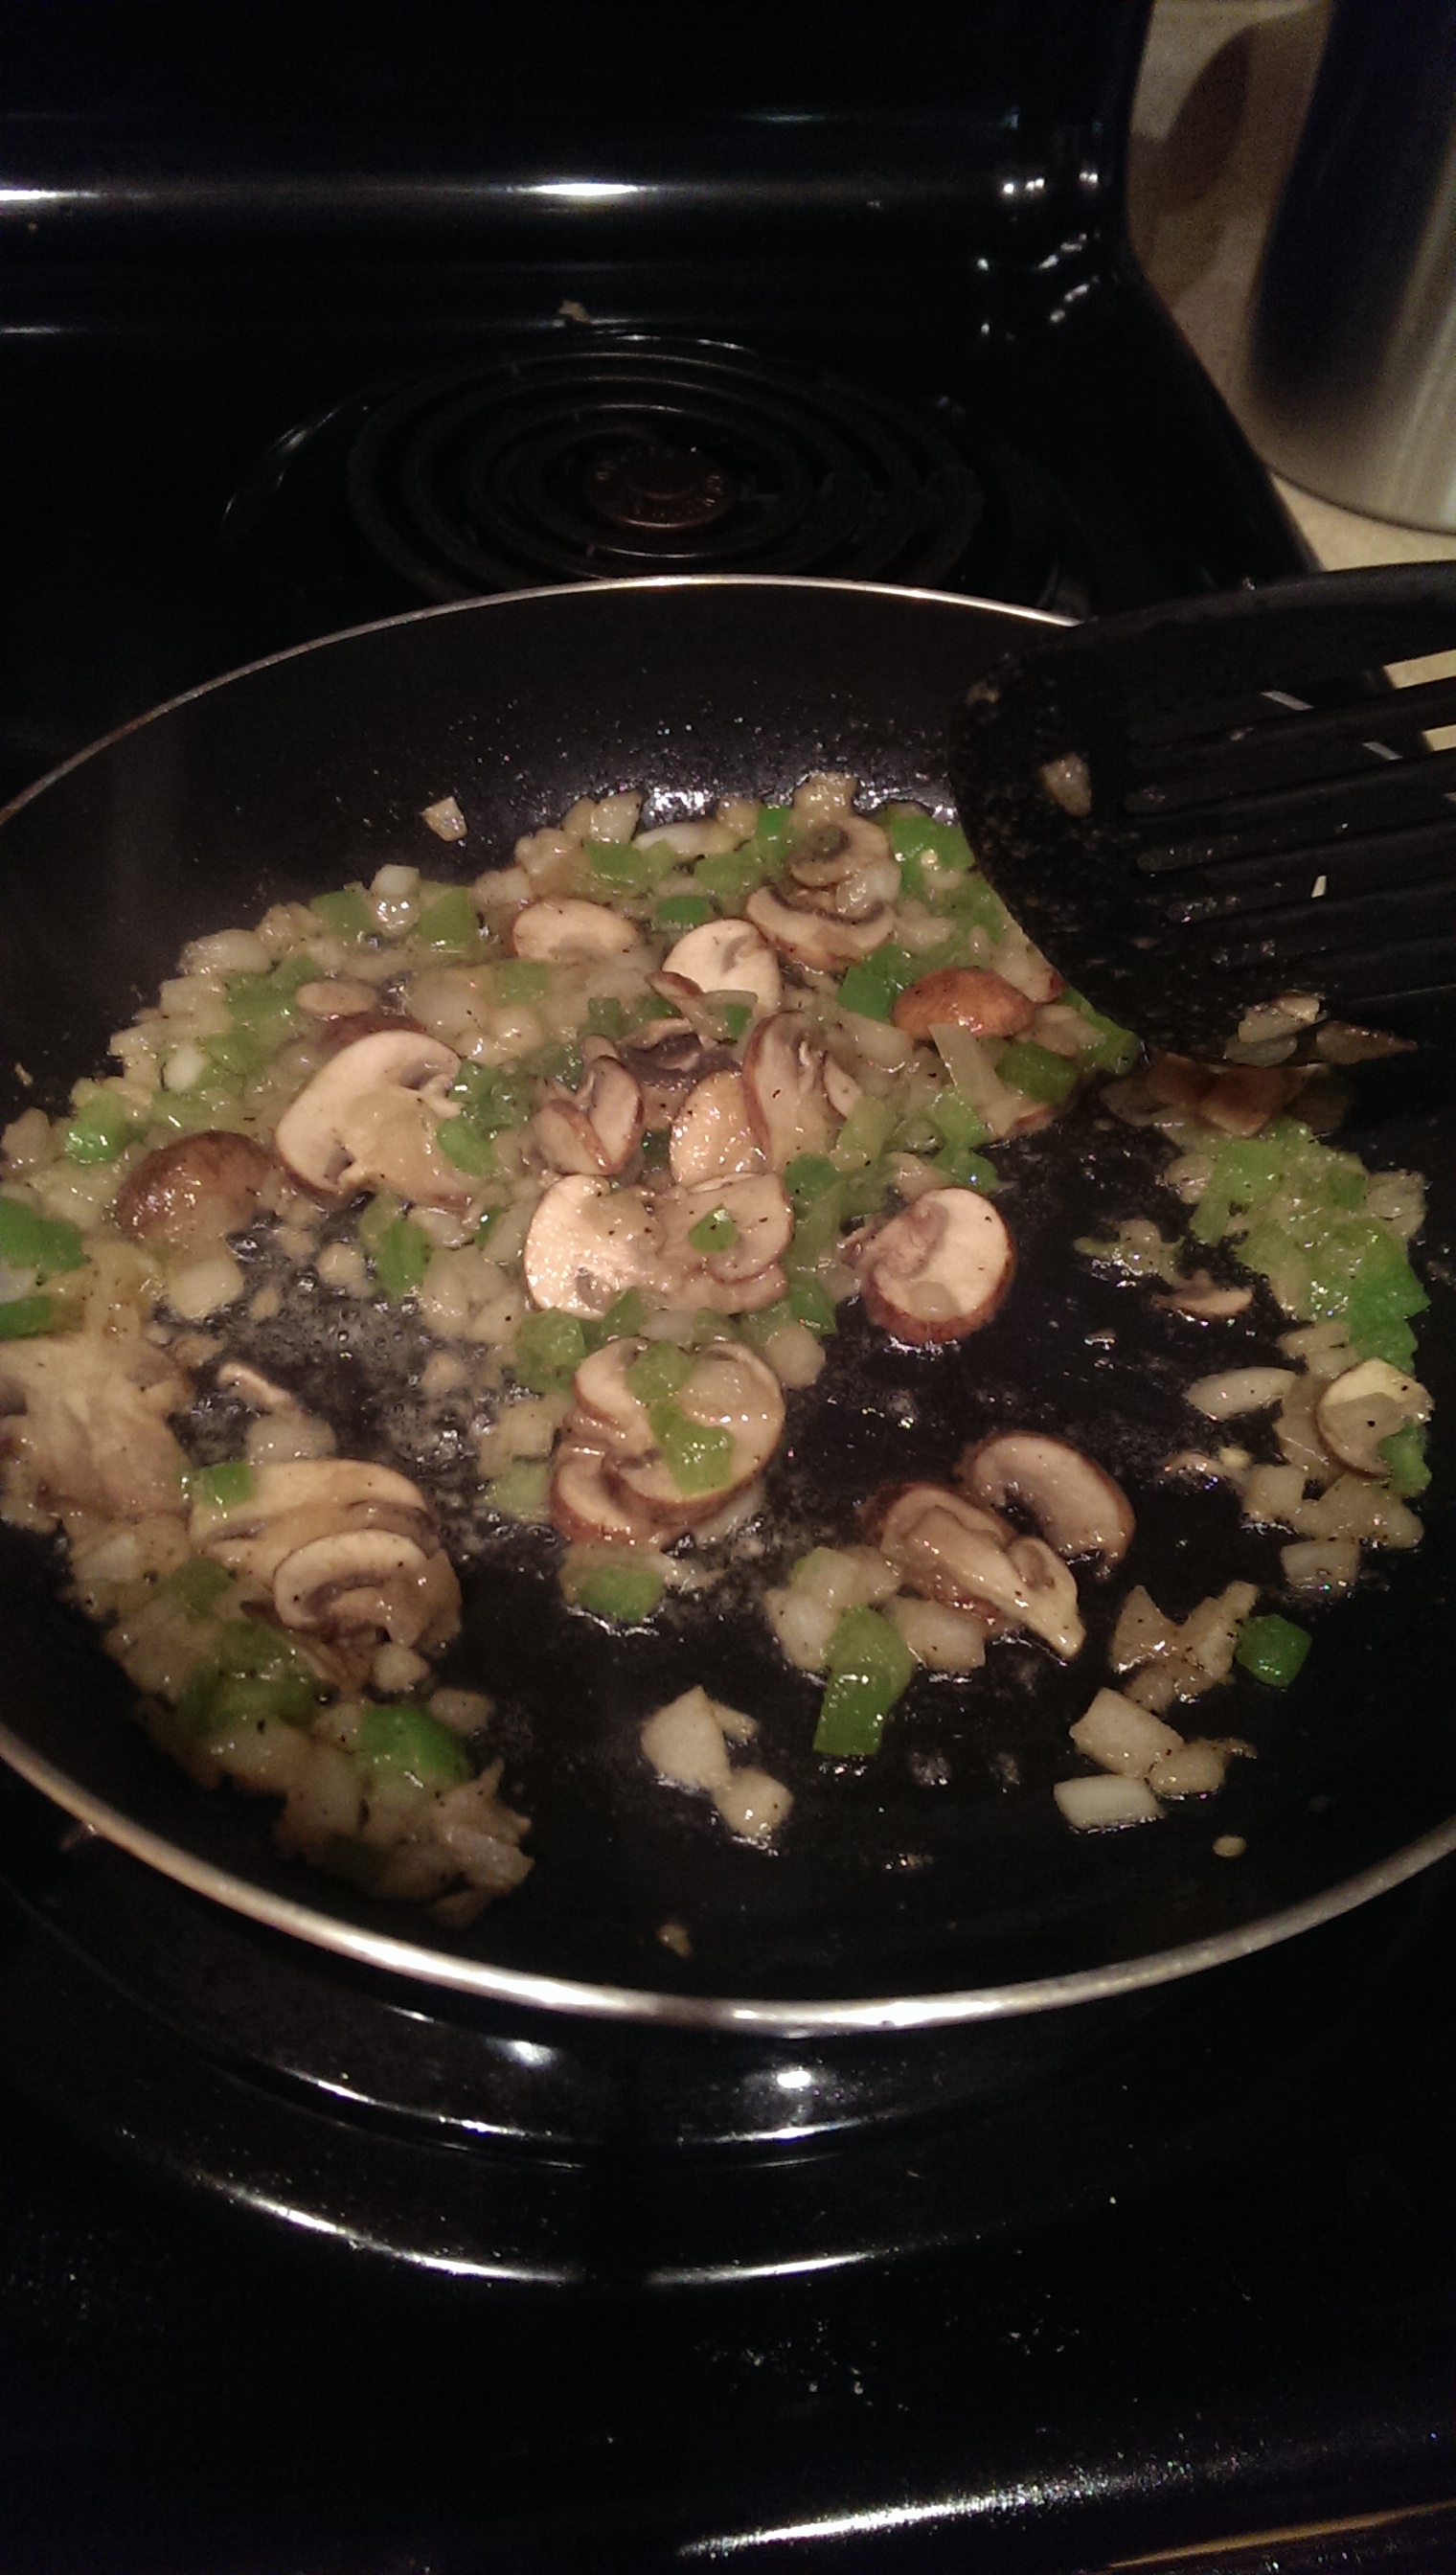
- As the daikon cooks, remove the shrimp and shiitake mushroom from the water. Remove the stems of the mushrooms and mince the caps and shrimps together.
- Saute the garlic, ground turkey, minced shiitake, and shrimp together in a large pan with a splash of oil until the turkey is cooked (or Chinese sausage). Add the white pepper and soy sauce into the pan.
- Drain the daikon and reserve at least 1 cup of the water. Place the daikon and cooked mixture in a separate bowl. Add rice flour and stir – you can add water if a paste does not begin to form. The mixture should be thick and is ready when it no longer falls off the spoon.

Bain-marie
- Fill a 9 inch loaf pan with this mixture and place in a bain-marie for 45 minutes. Bain-marie = place loaf pan in a pot larger and fill large pot with water 1 inch high. Heat to medium heat.
- Once turnip cake is done, remove from bain-marie and cool to room temperature.
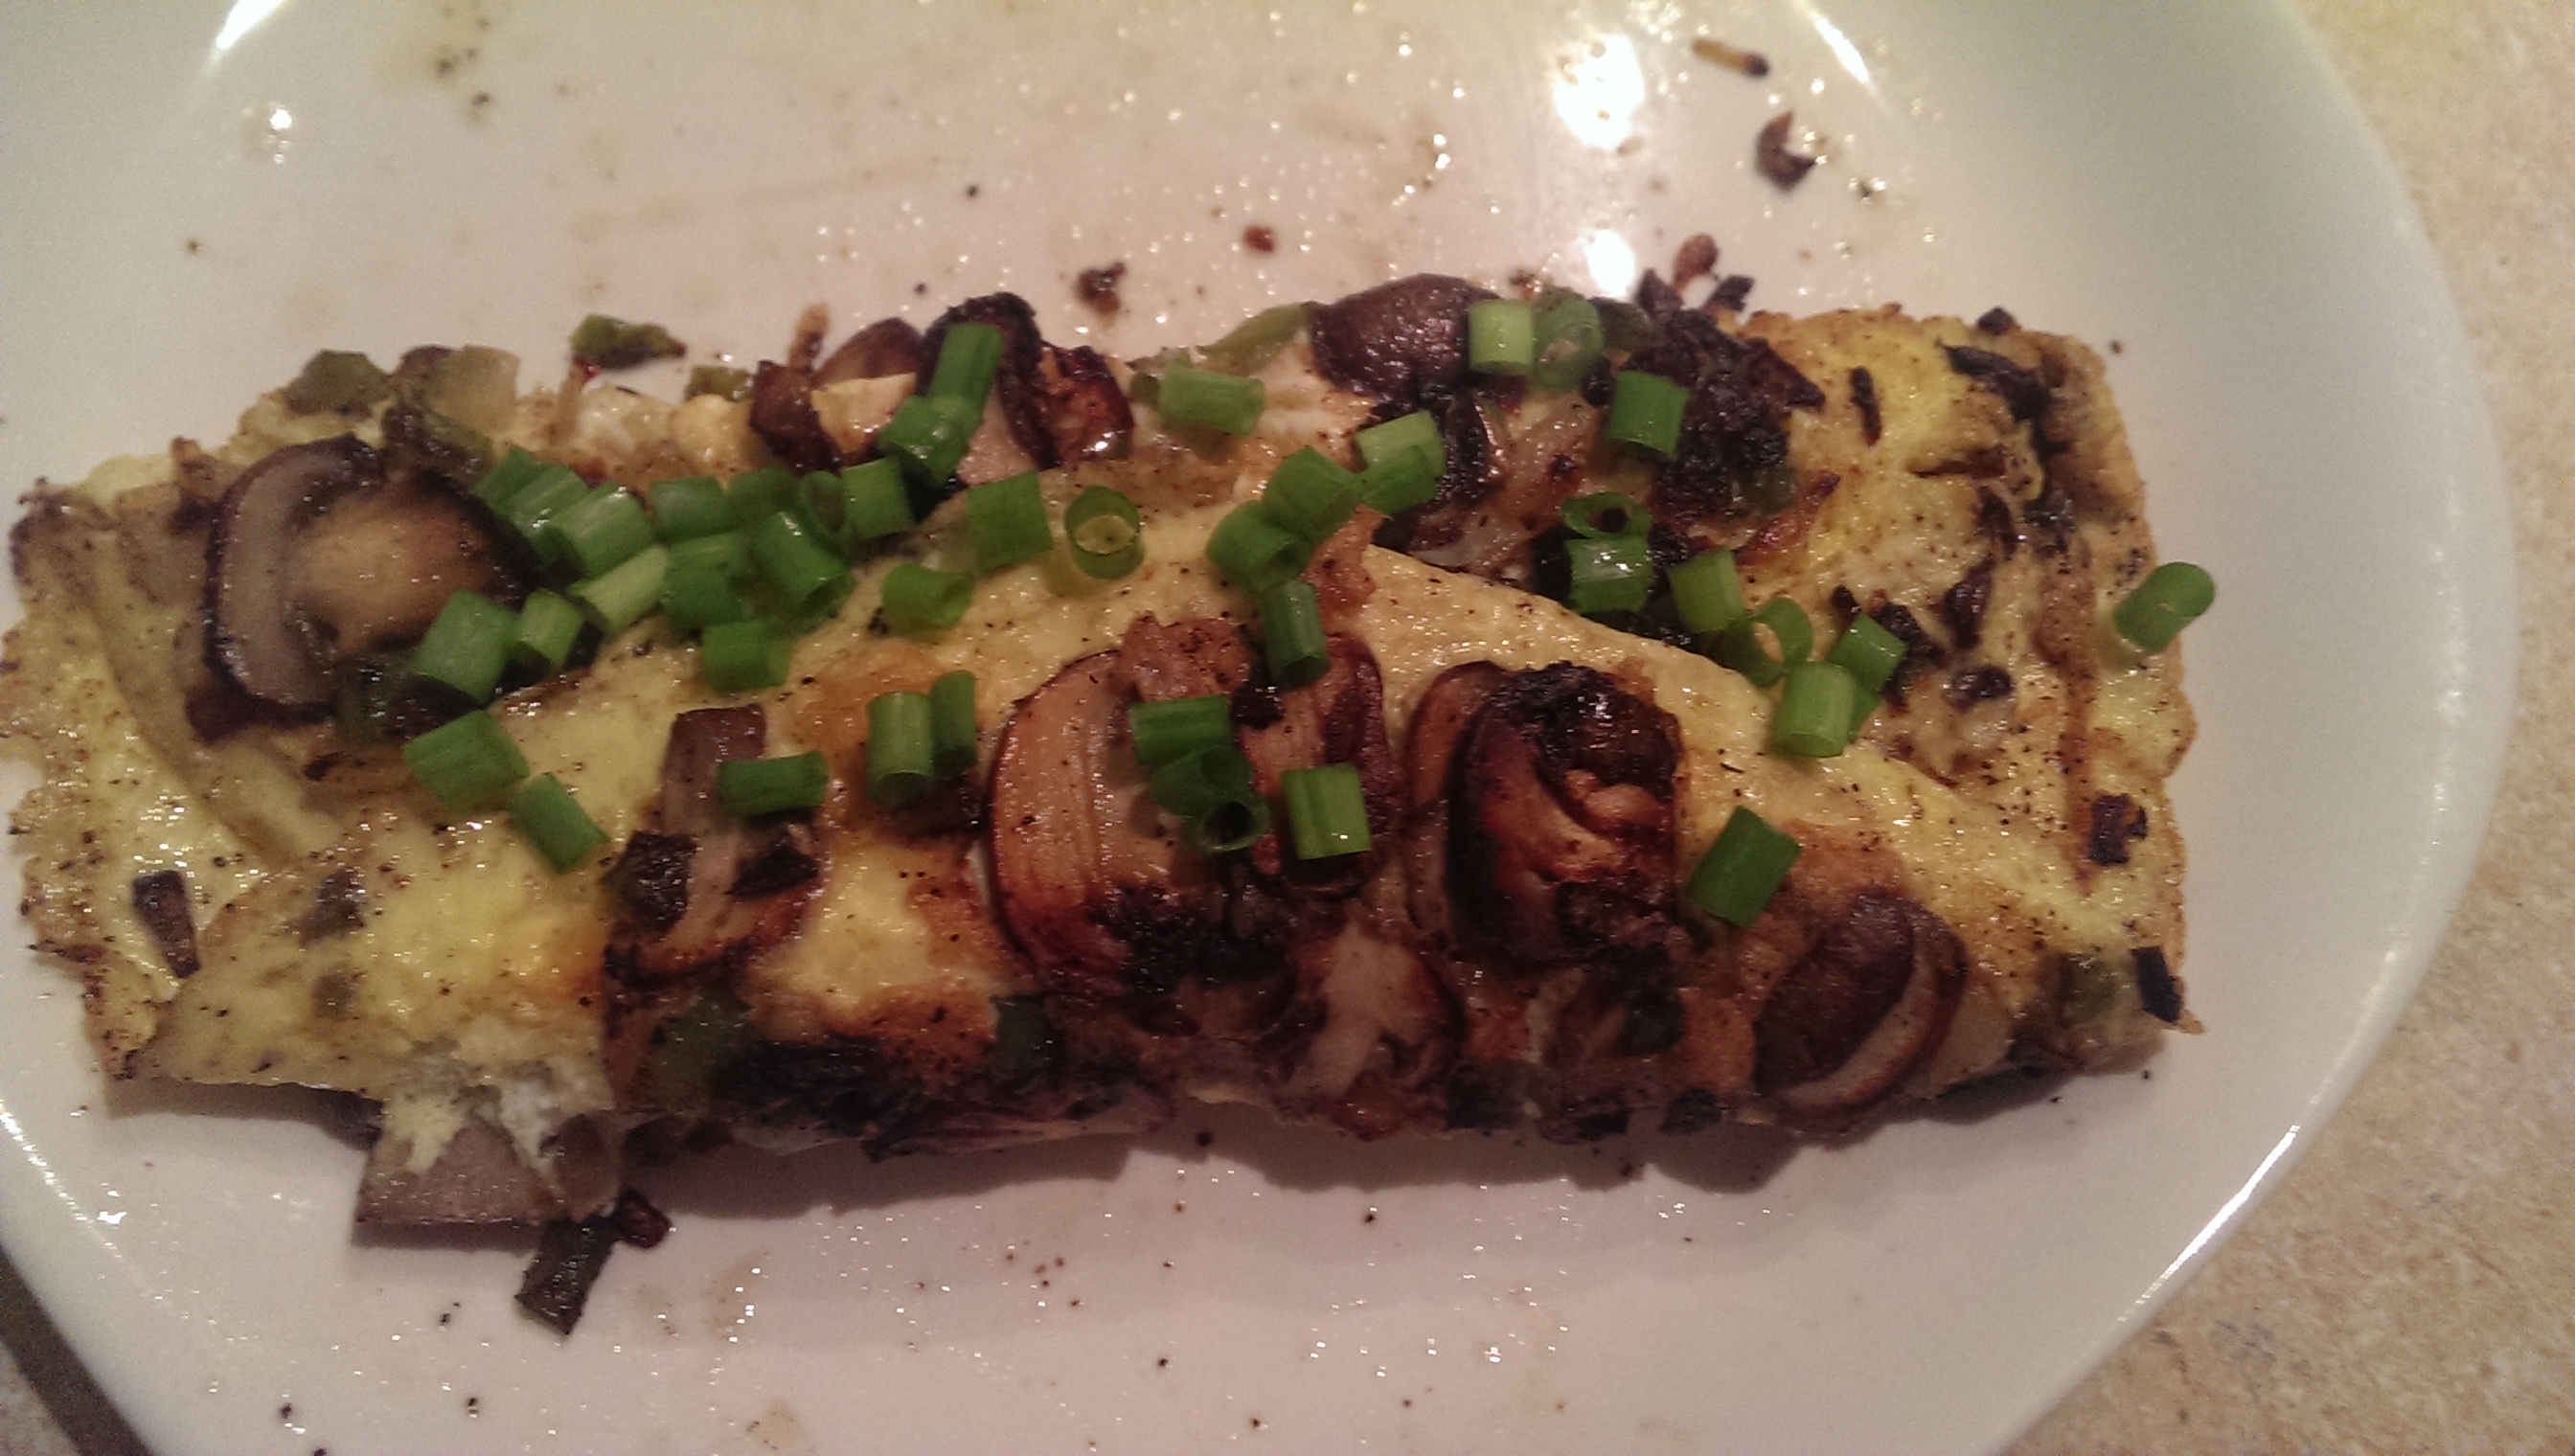
- At this point, you can eat the turnip cake, but a lot of people refrigerate it overnight and pan fry ½ inch slices the next day.


The Food Scientist ❤ HD

At graduation


 Recipe.
 One happy! One er.. something.
 You can kinda see the faces..