Alright, I know. I shouldn’t try to be punny anymore, but a recent conversation with my roommmate (the Food Scientist) inspired me to try a little harder in terms of blog updates. I also took an exam earlier, and our extra credit questions were based on electrical puns so word plays were on my mind. Example? “The slippery floor at the prom would ____.” ImpeDANCE! Like.. impede dance. Get it? No? Okay 😦
ANYWAY, onto the actual dish of the day. I decided to (once again) stock up on fruit and try my hand at being artsy by making mini fruit tarts! This is one of my favorite dishes to make. However, I don’t make it very often because of how time consuming it can be. If you read my last post, you know that I’m slightly OCD when it comes to making food look pretty… so you can imagine how much time I spent in the kitchen cutting up fruit into odd shapes and seeing how to piece them together. I’m also the type of person who likes to make everything from scratch, so making everything took a while.
First off, the key to any pastry is having a good dough! I used an adaptation of a recipe for sweet pastry dough from Cook’s Illustrated.
- 1 large egg yolk
- 1 tablespoon heavy cream
- 1/2 teaspoon vanilla extract
- 1 cup flour (6 oz.)
- 1/3 cup confectioners’ sugar (1.5 oz)
- 1/4 teaspoon salt
- 6 tablespoons butter, chilled and cut into pieces
Start by preheating the oven to 375 degress. Then, mix together the egg yolk, cream and vanilla extract in a small bowl. Next, pulse together the dry ingredients in a food processor. Scatter the butter on top of the mixture and pulse once more. Add the egg mixture until the dough comes together, put it in some plastic wrap and let it sit in the fridge for at least one hour.
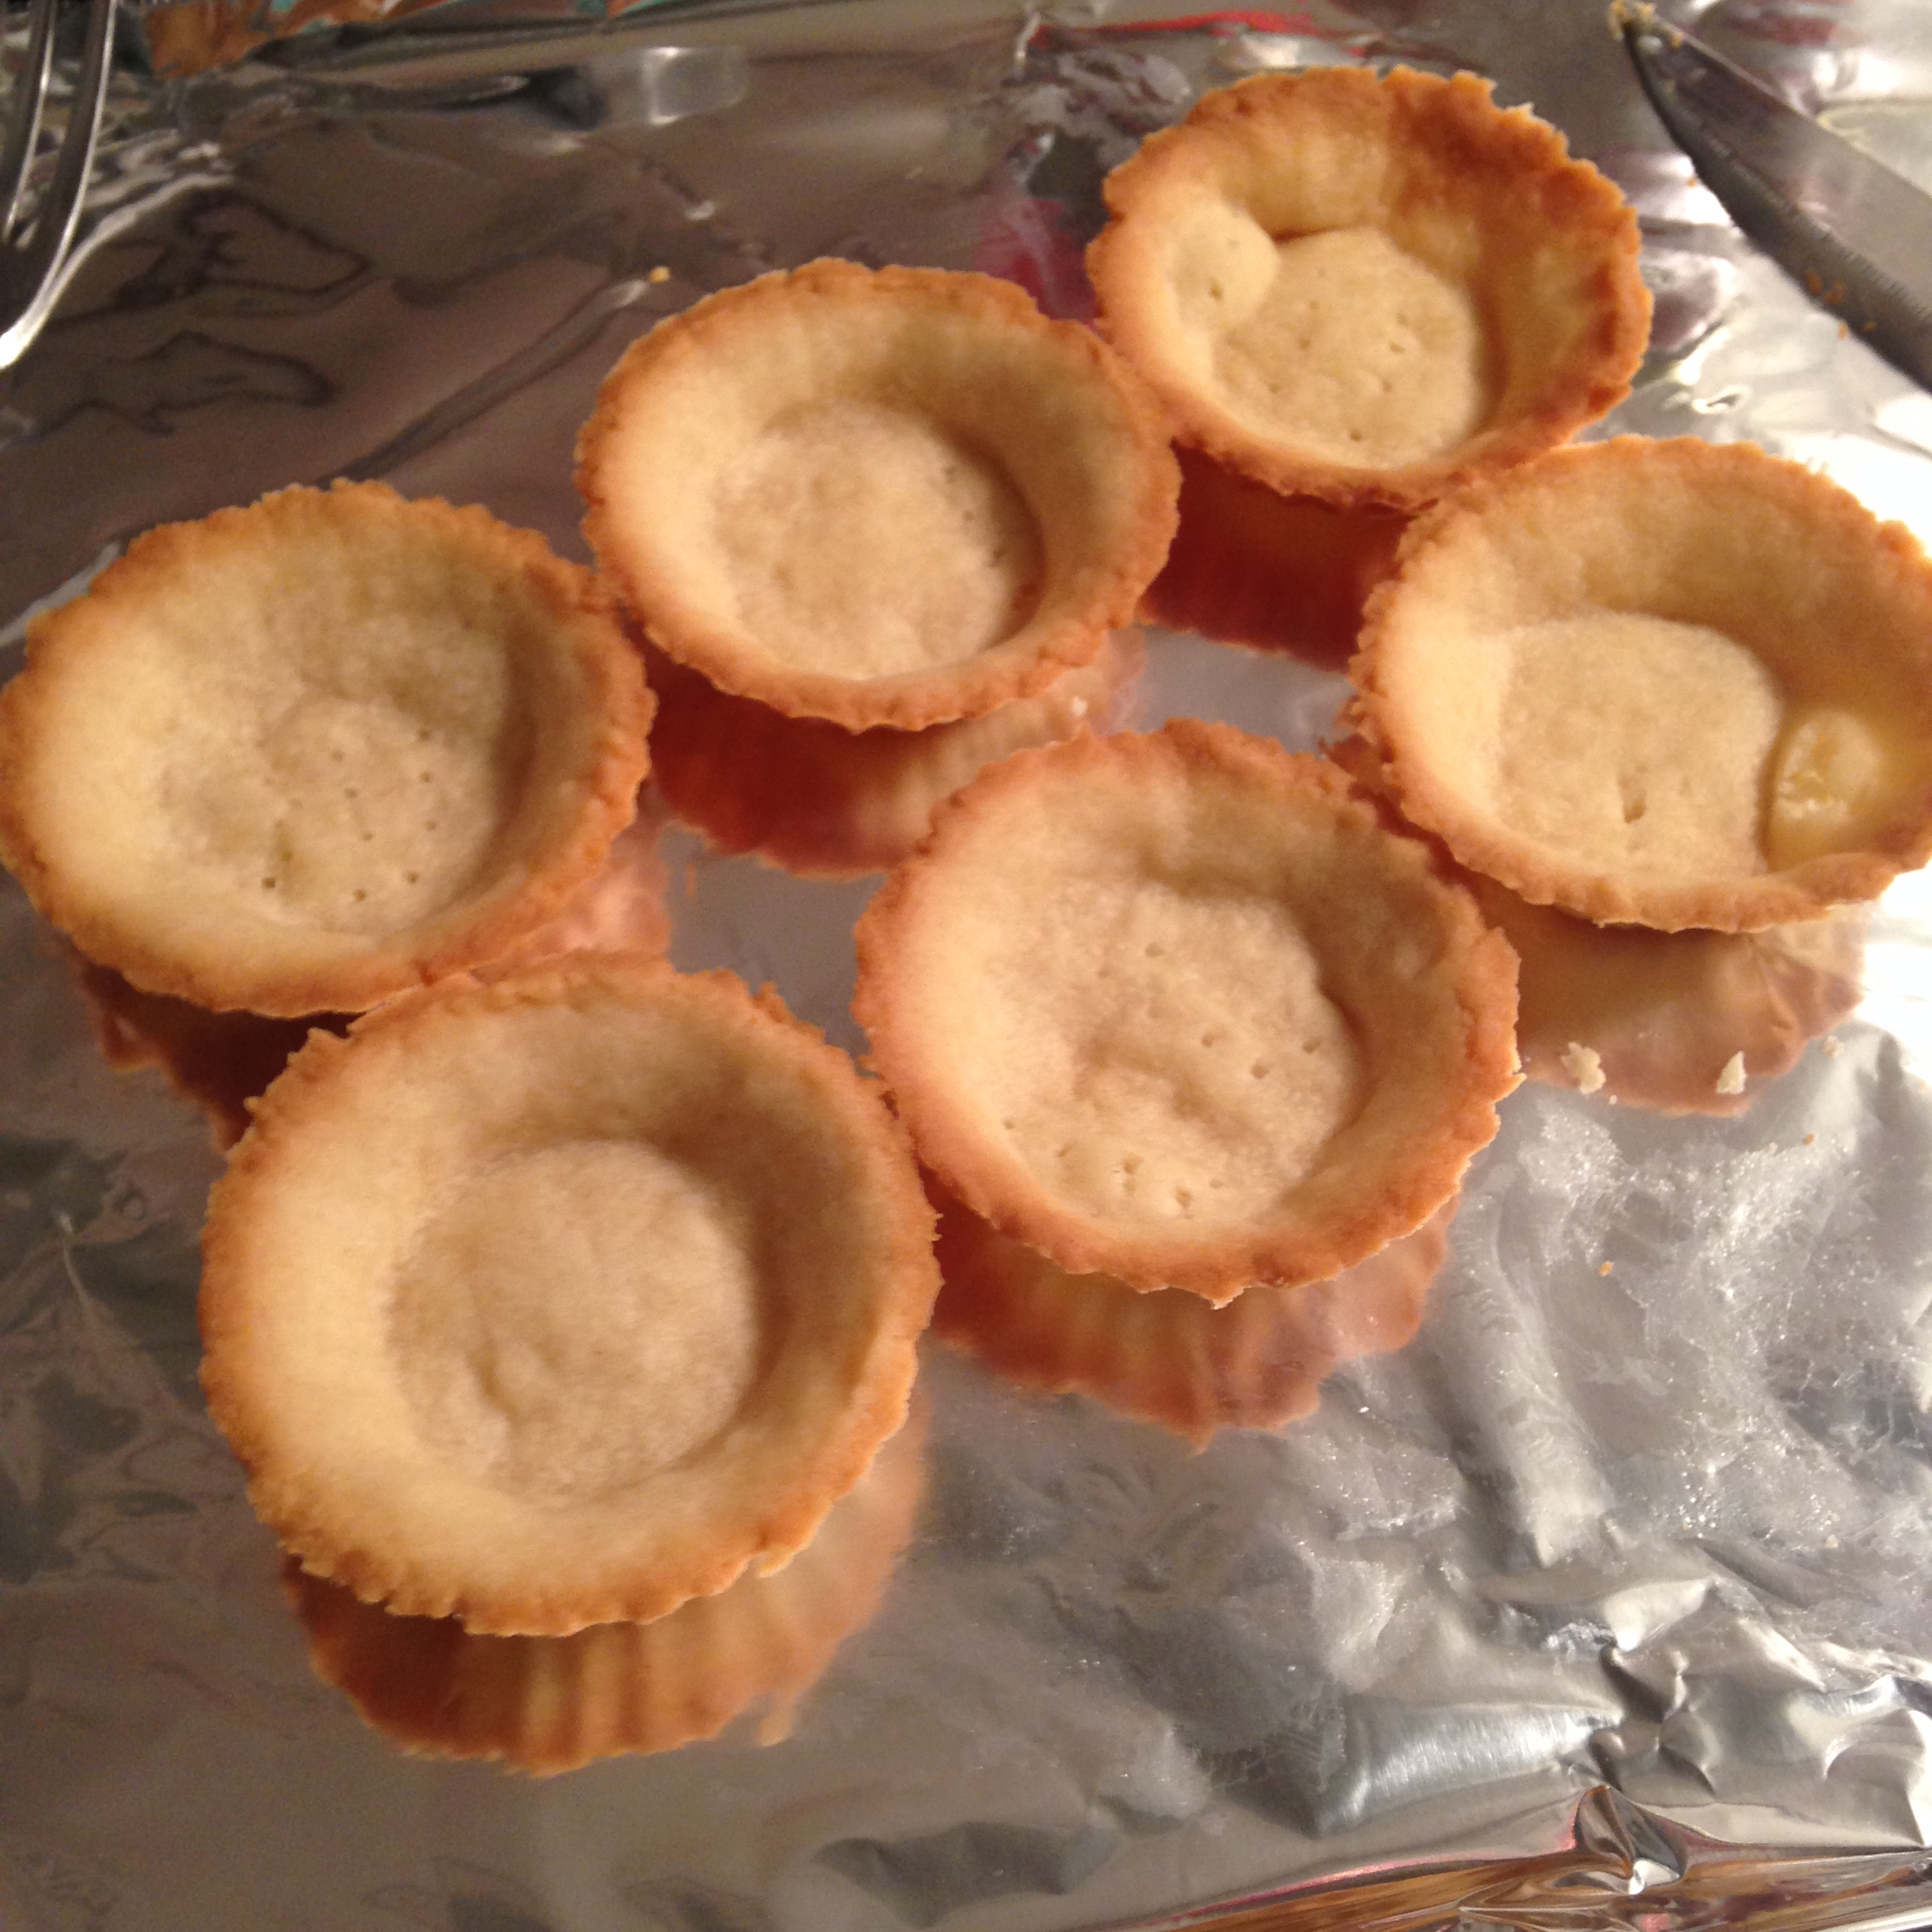
Once they’re ready to bake, roll out the dough until it’s between 1/8-1/4 inch thick and cut out shapes to fit inside your tart pans. Don’t forget to prick the bottoms! If you don’t prick them, the bottom of the dough will puff up, which will make it hard to form your tarts. Bake these for ~10 minutes or until they turn golden brown.
Unfortunately, I forgot to prick mine before putting them in the oven, so I took them out midway and poked a couple holes in an attempt to do some damage control…

While you’re waiting for your tarts to cool, you can make the pastry cream. If you’re in a bind, go ahead and use some vanilla pudding as a quick fix, but I like making the cream from scratch so I can control its sweetness.
- 2 large eggs
- 2 large yolks
- 1/2 cup sugar (3.5 oz.)
- 3 tablespoons all purpose flour (25 g)
- 2 tablespoons + 1 teaspoon cornstarch (25 g)
- 2 cups milk
- 1/2 teaspoon vanilla extract
- 3 1/2 tablespoons butter
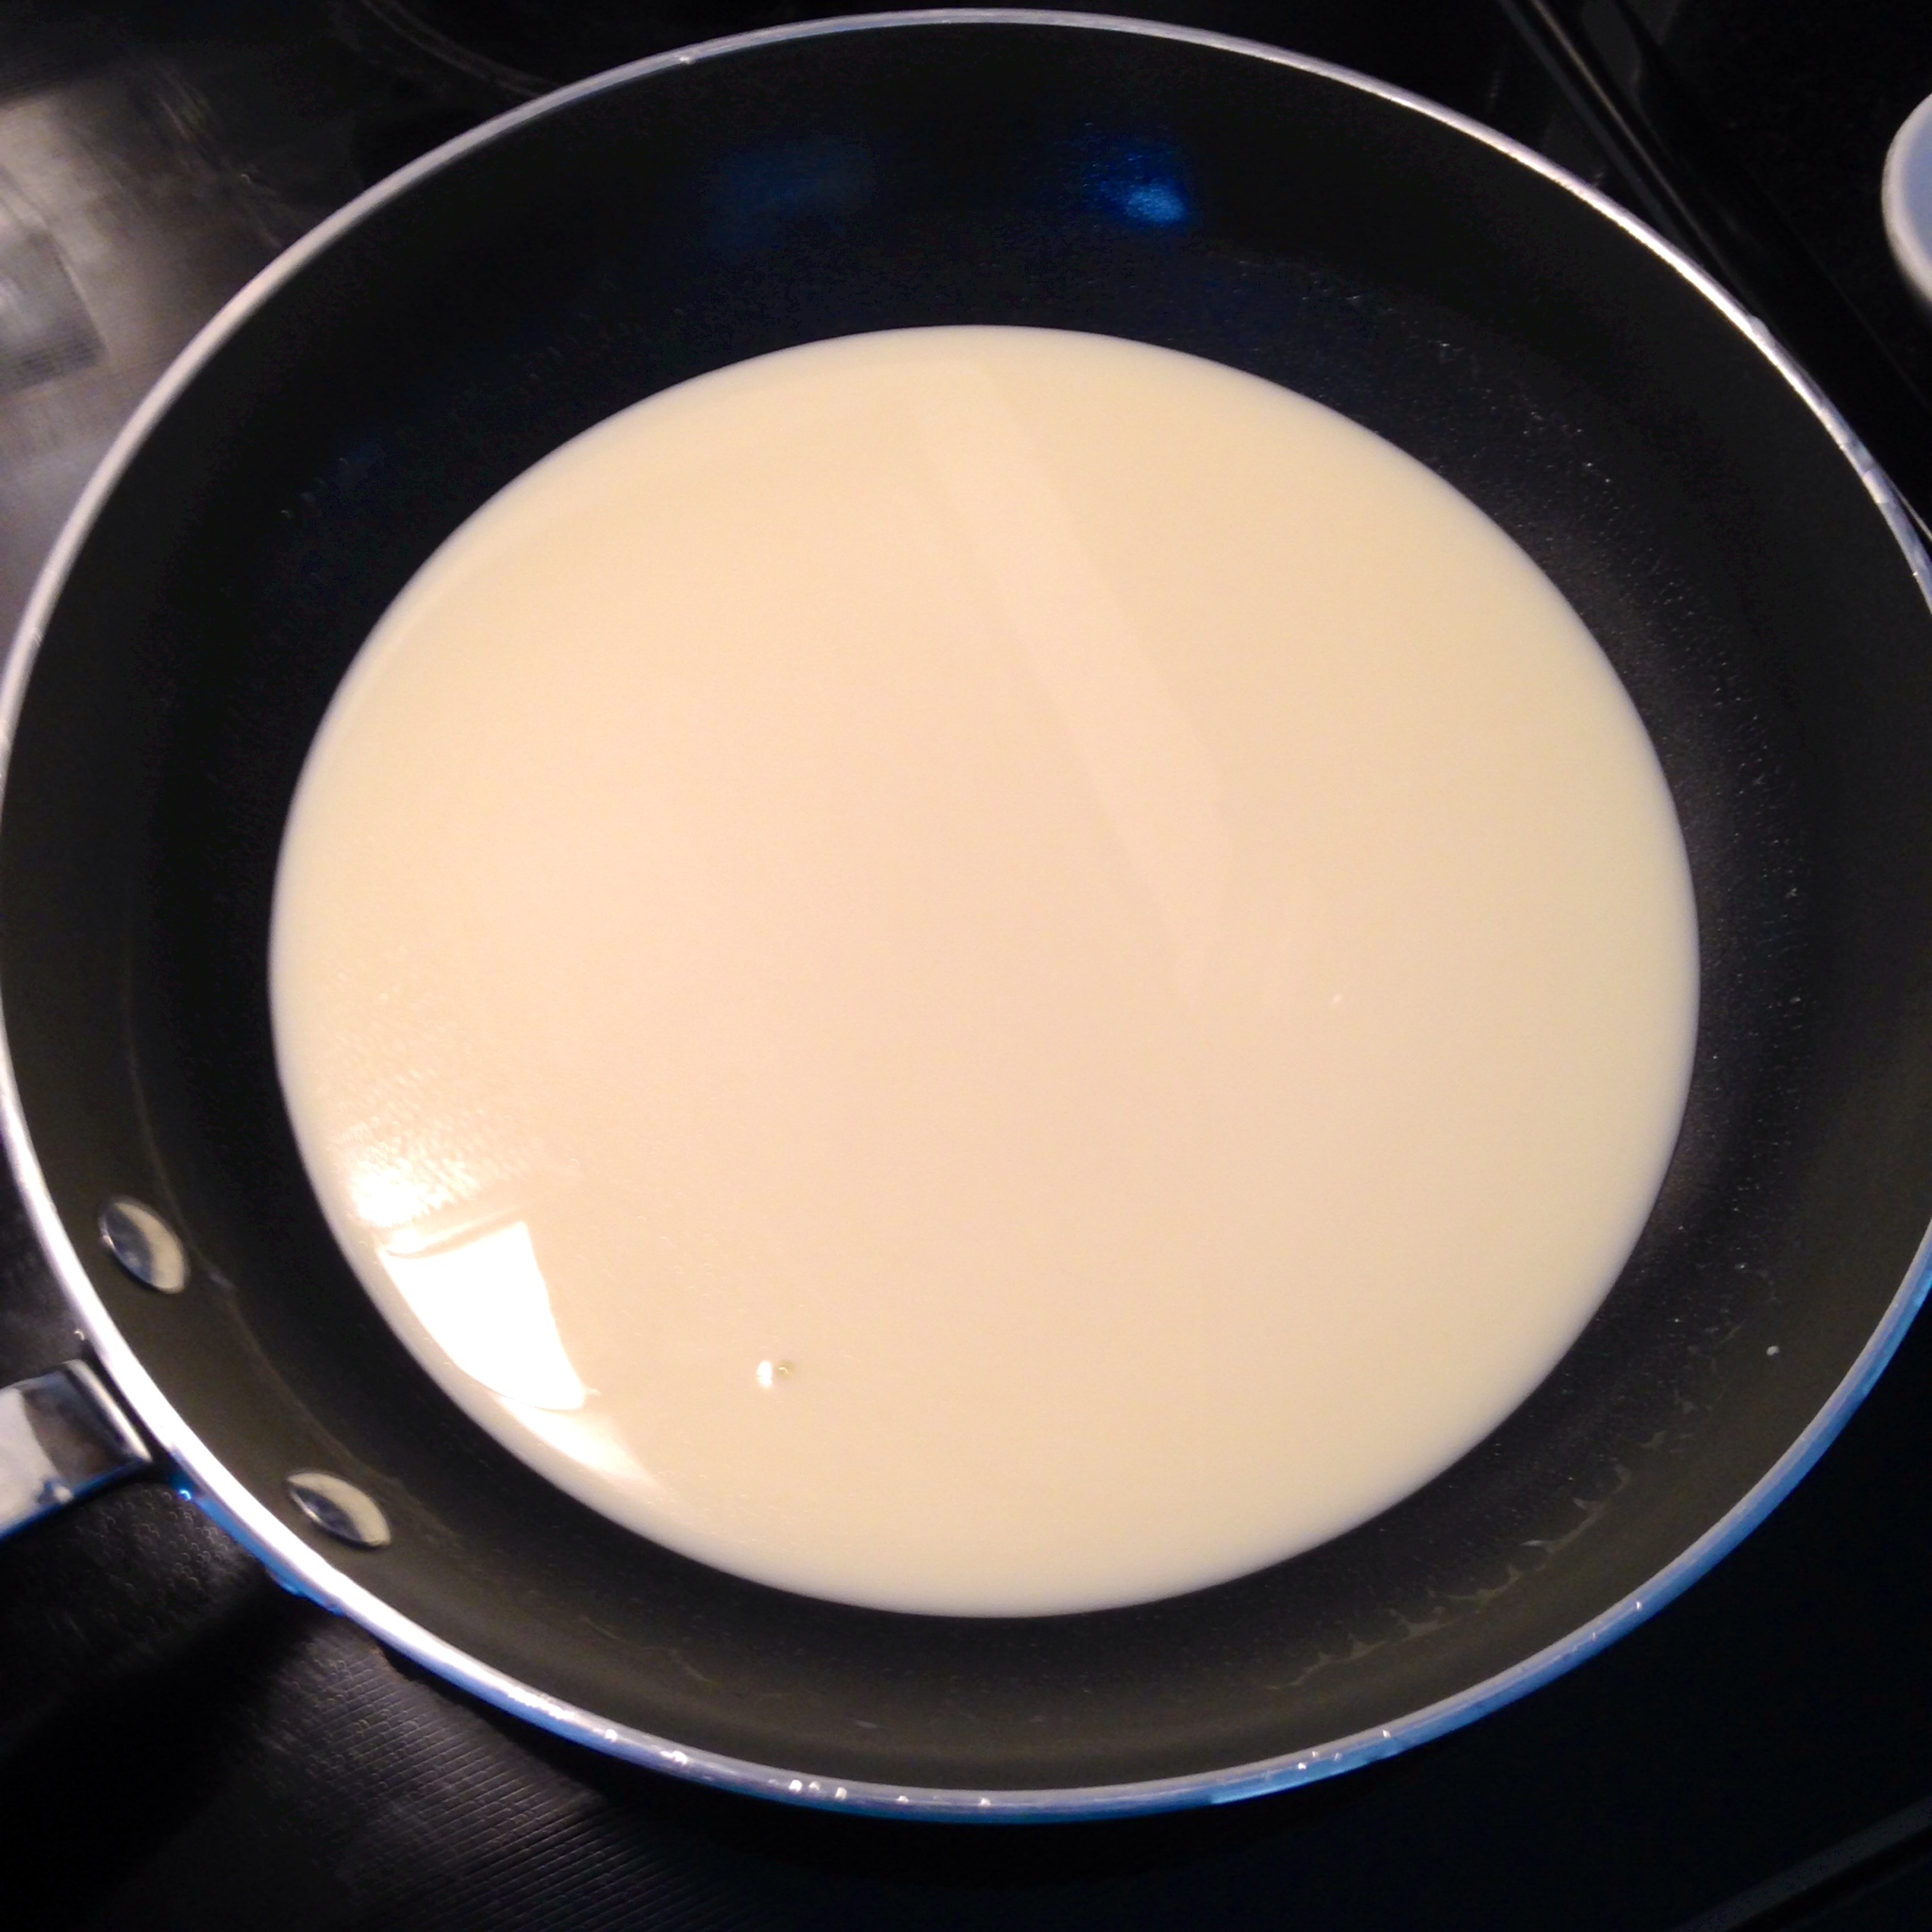
Whisk eggs, yolks, sugar, flour and cornstarch in a medium bowl until combined, making sure that there are no lumps. Heat the milk in a 2-quart sized pot until it comes to a boil. Next, temper the eggs by pouring about 1/4c of the milk into the egg mixture while whisking constantly so that the eggs don’t cook. Pour the egg mixture into the pot and stir constantly for about 2 minutes until the cream reaches a custard-like consistency.
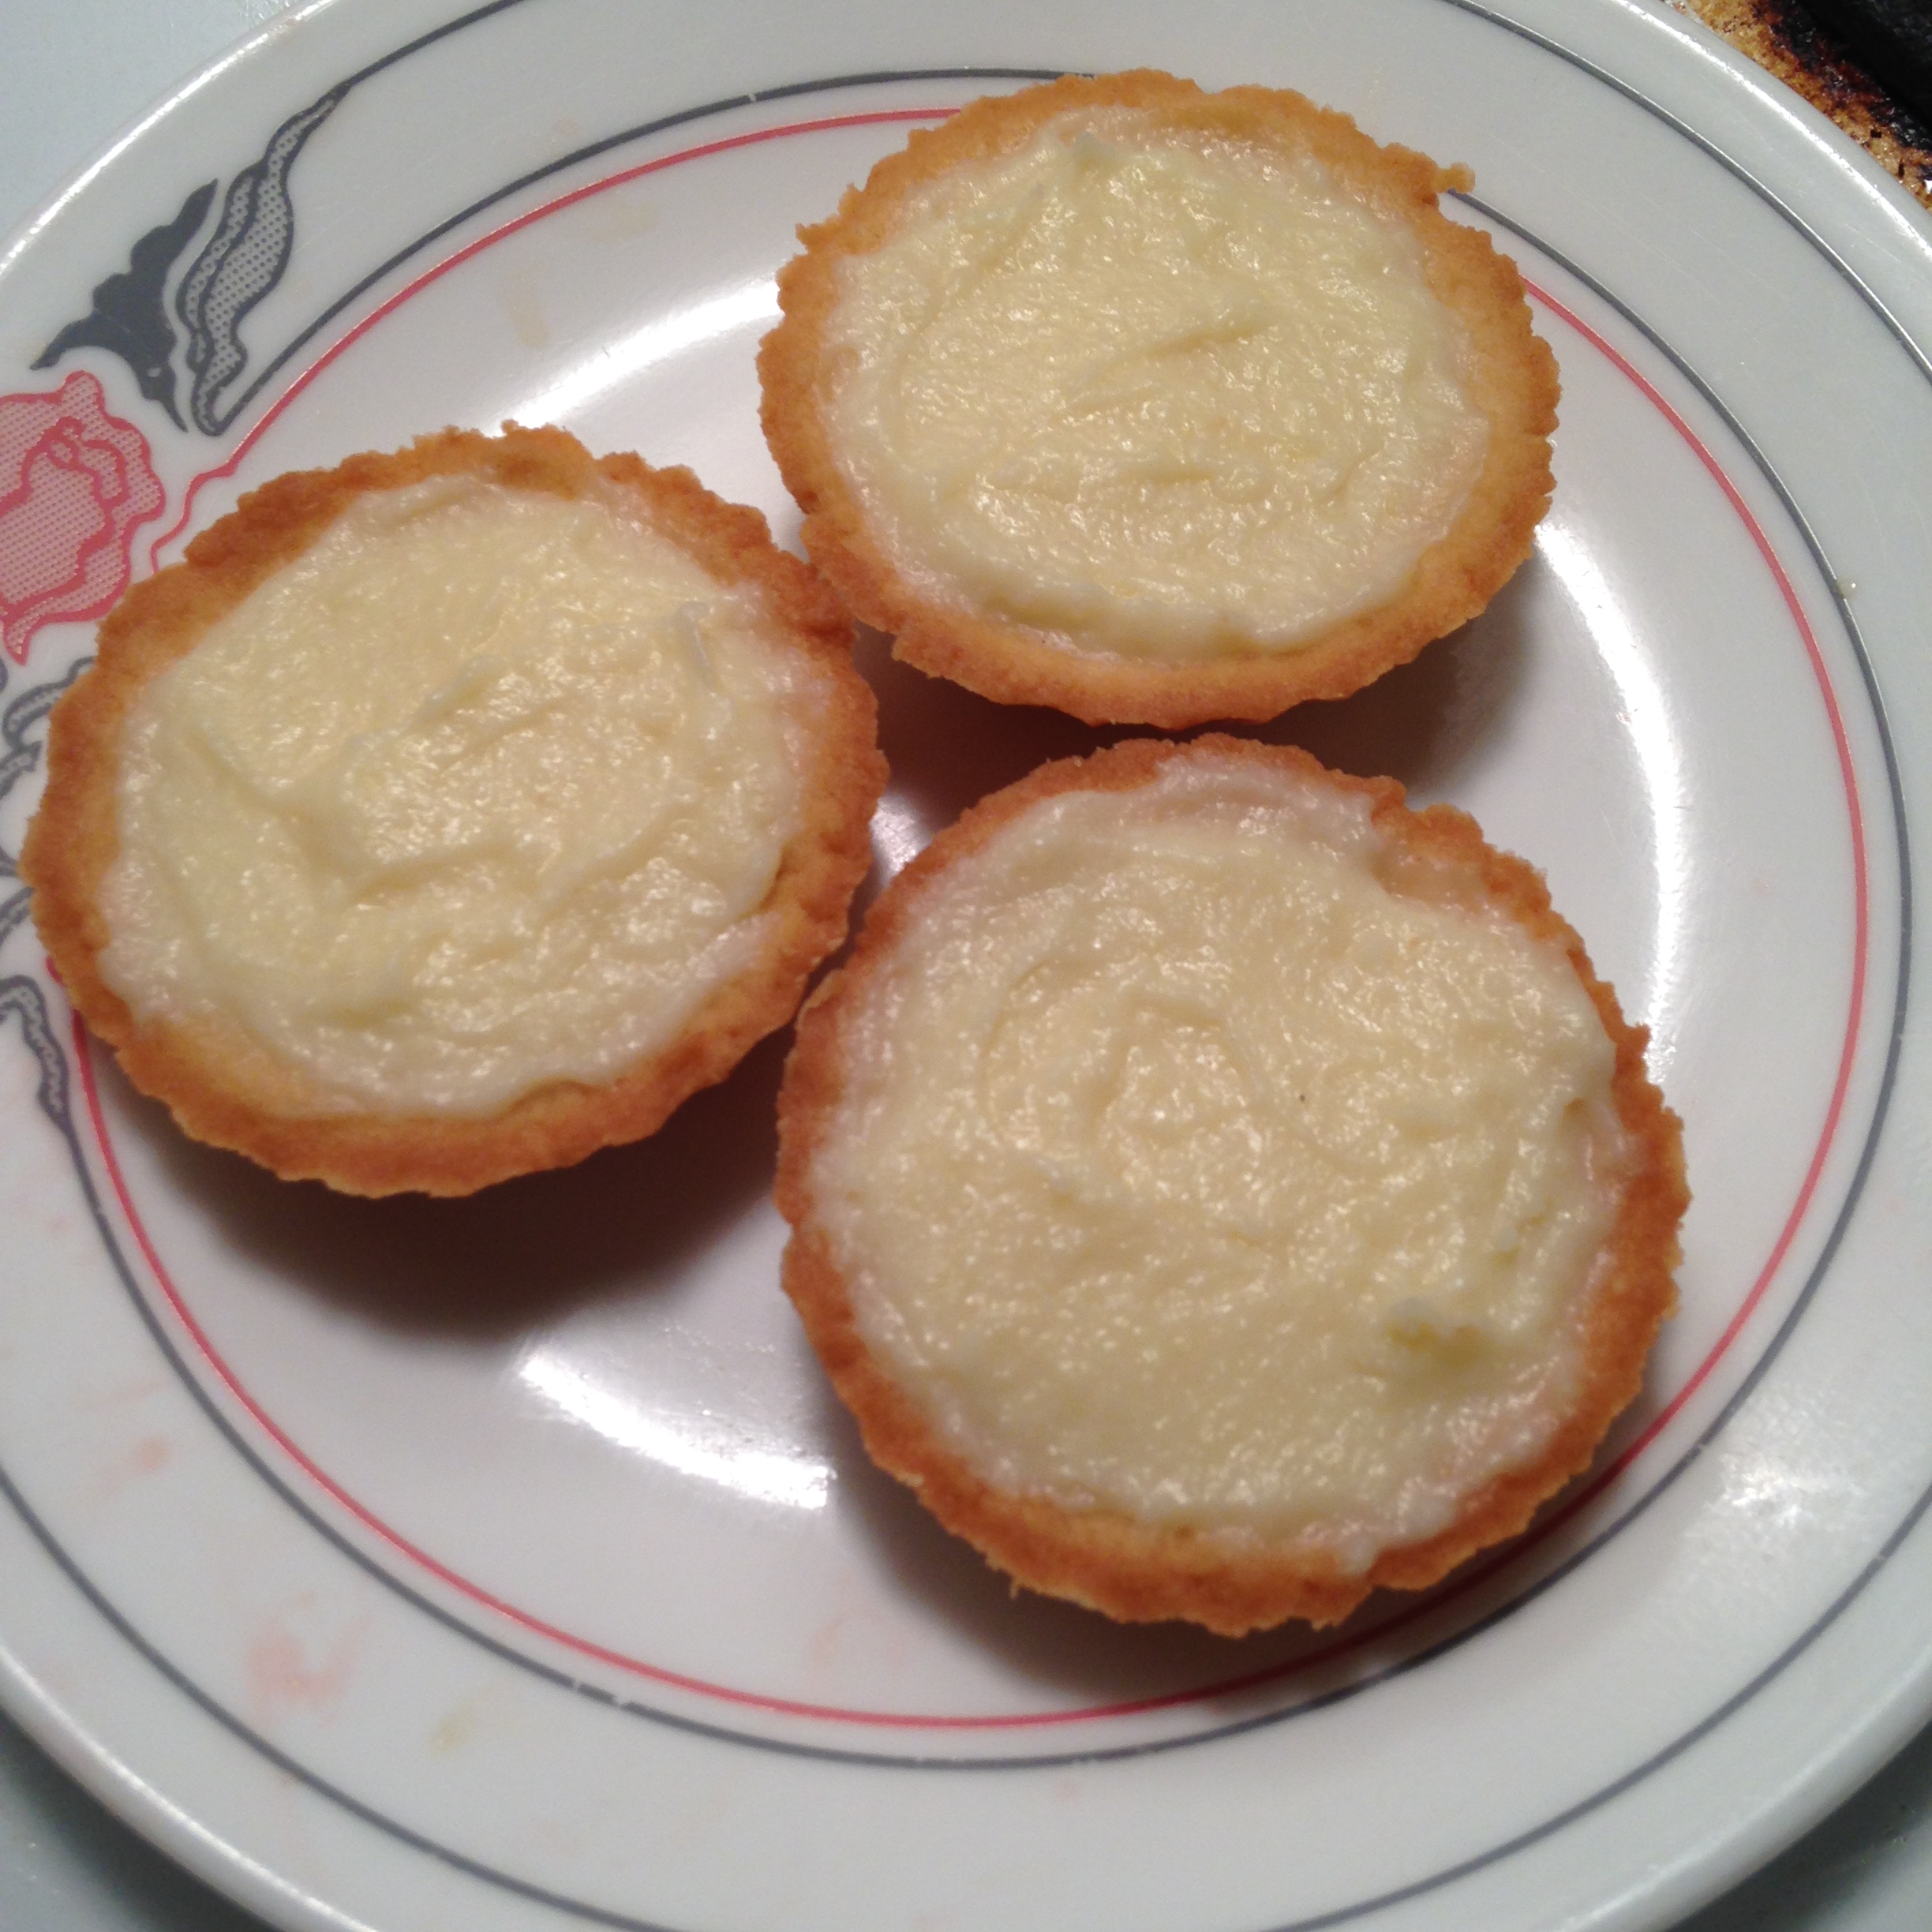
If you don’t want to fill your tarts just yet, transfer it to a clean bowl and cover it with saran wrap to prevent a skin from forming while it’s in the fridge. When you decide to fill your shells, try to smooth the tops of them to make it easier to decorate.

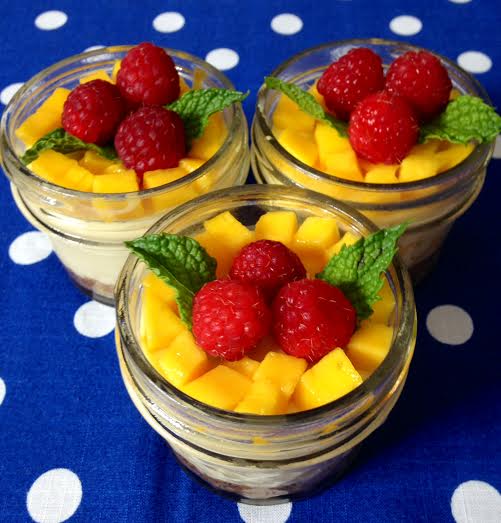
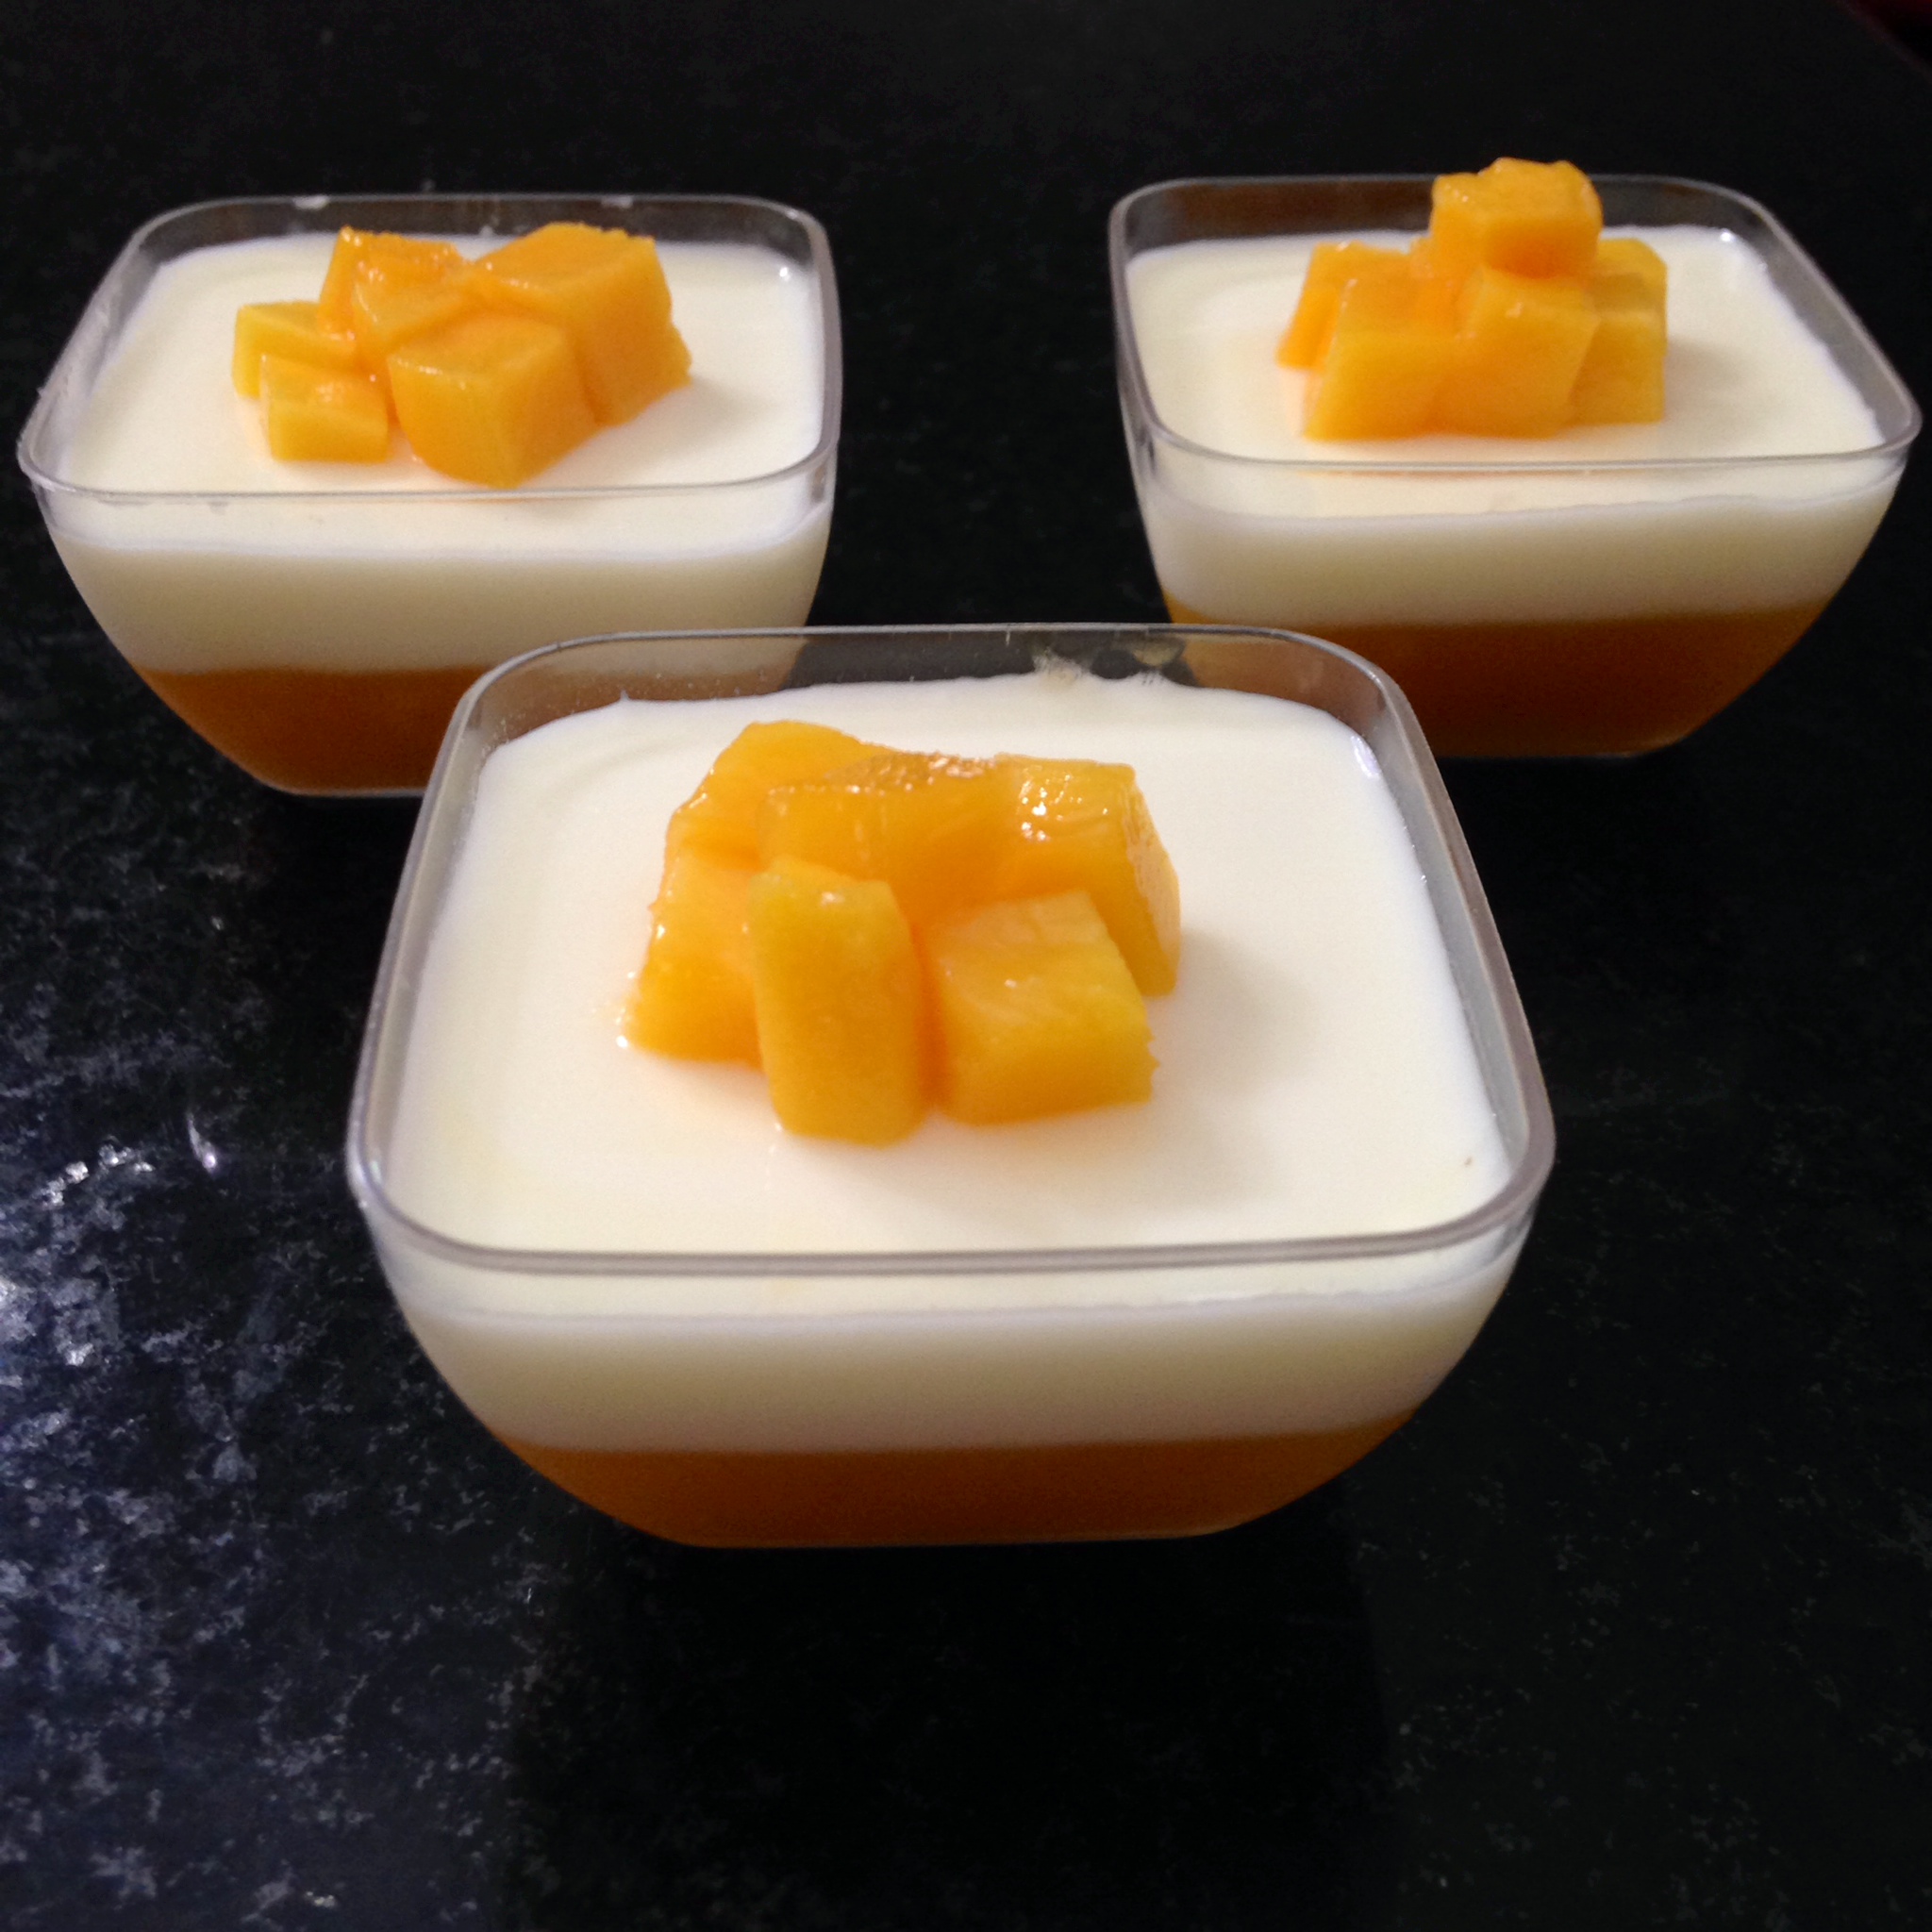
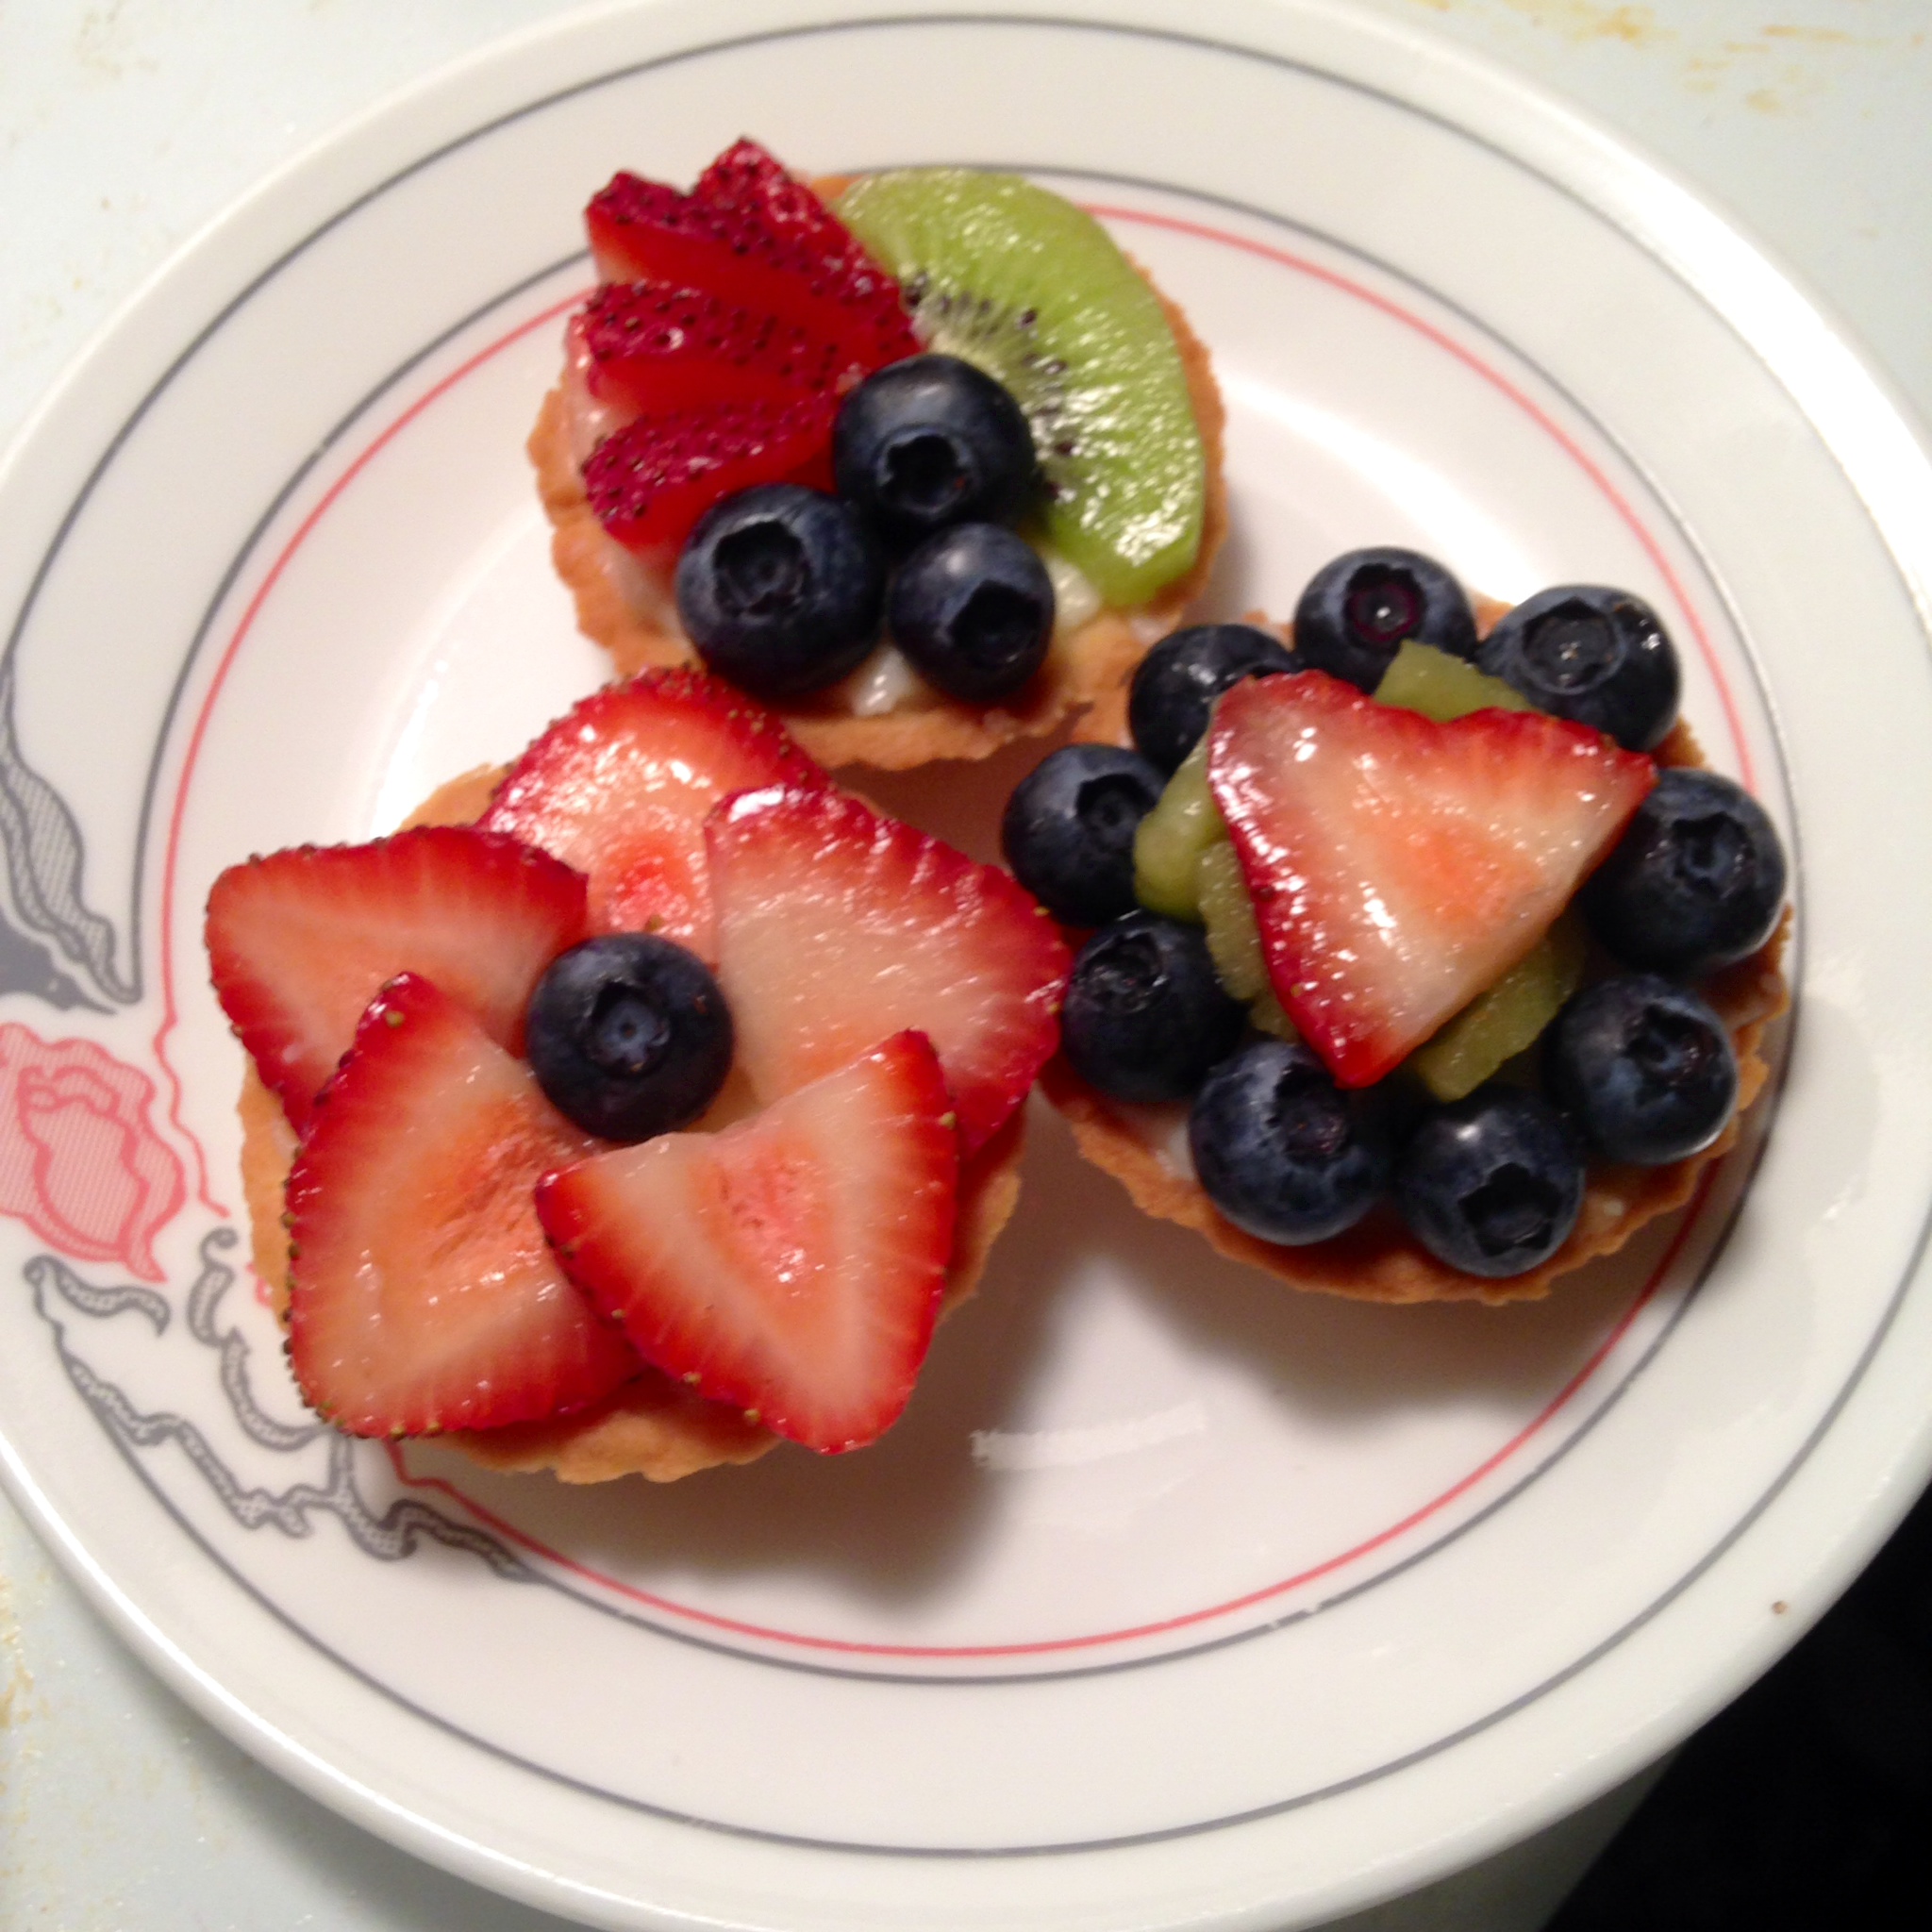
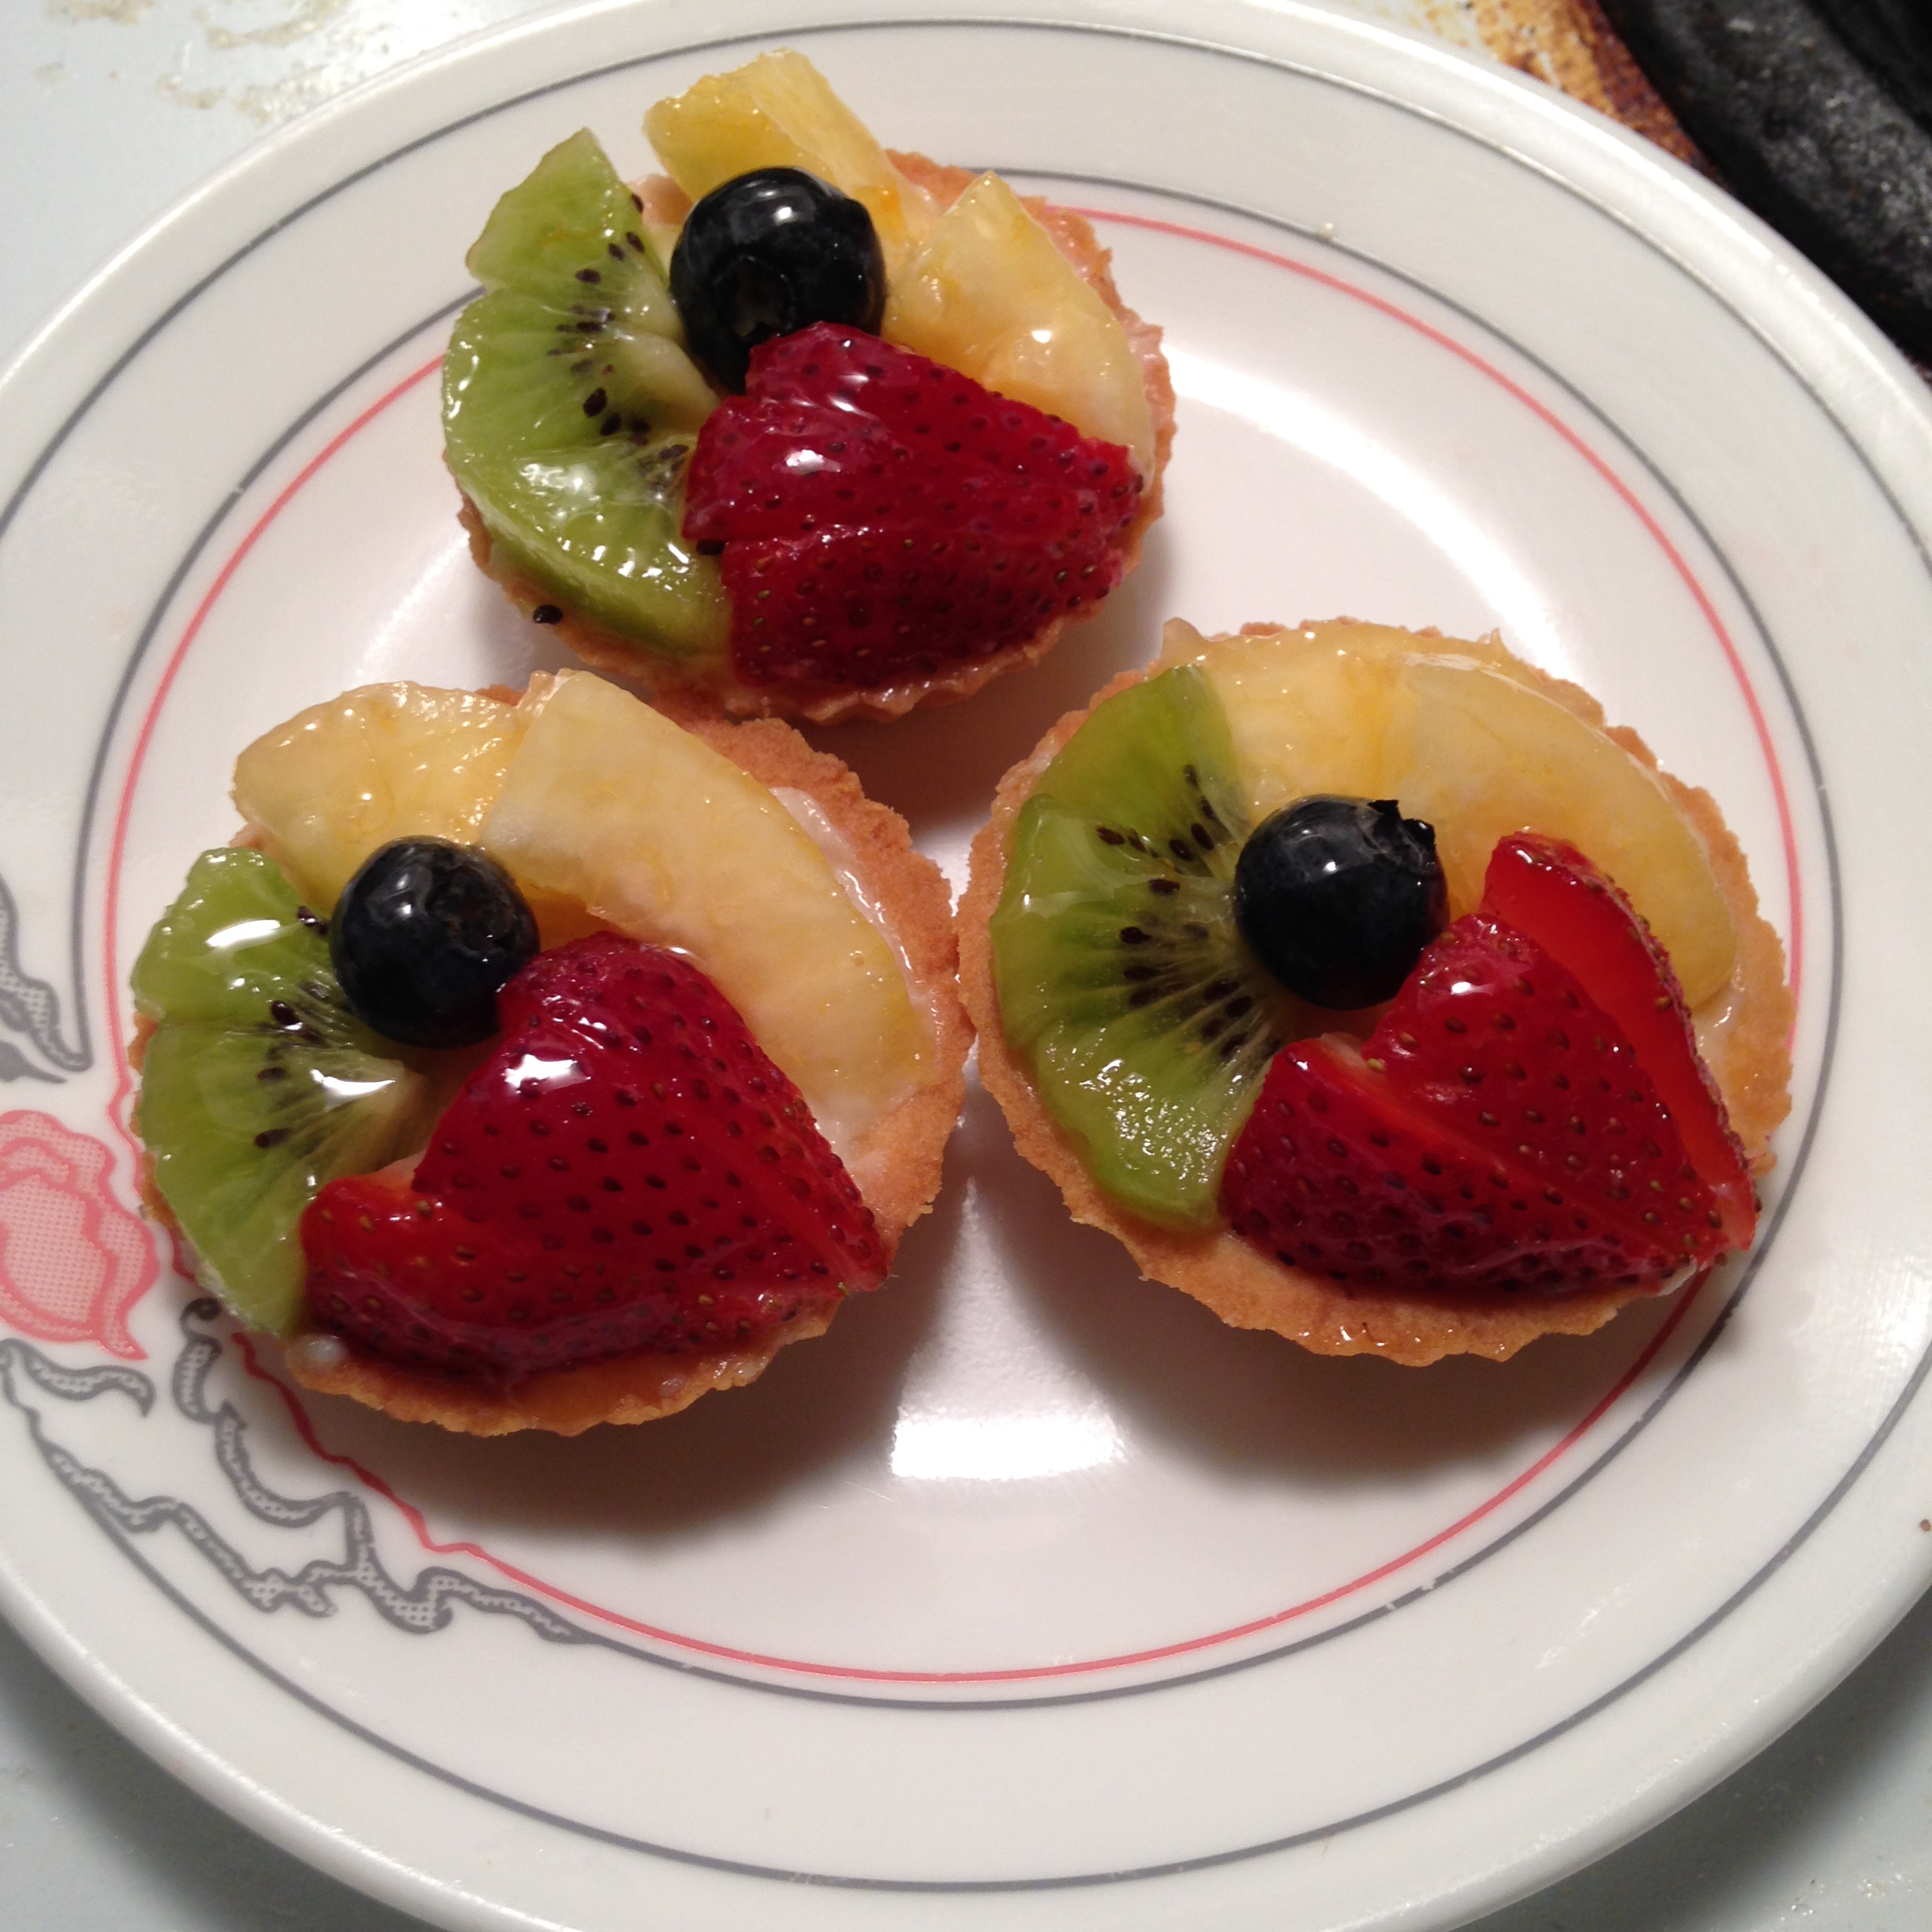
The fruit I had on hand were: strawberries, blueberries, peaches and kiwi. I washed all of them and prepared my chopping board, then I got to work! When I finished piecing the fruit together, I glazed the top of my tarts with a mix of apricot jelly (can be subbed with any other neutral-flavored jelly) and water. Check out some of my creations here:


That’s all I’ve got for now! Hope you’re all having a wonderful summer so far. 🙂
– Chef μChip
 Recipe.
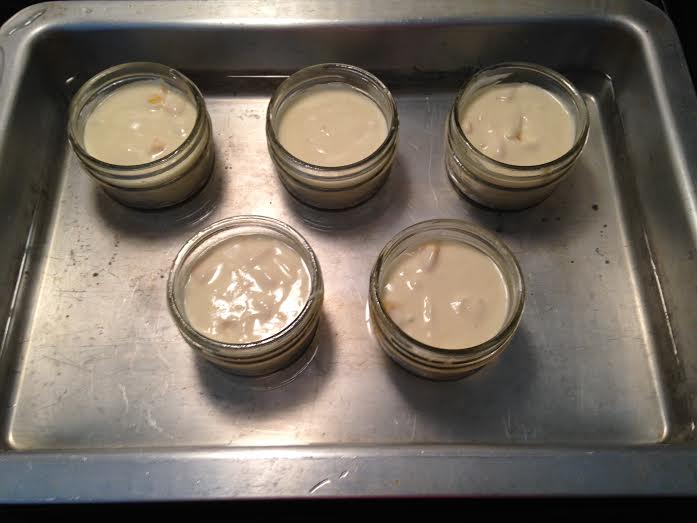
 Initial prep.
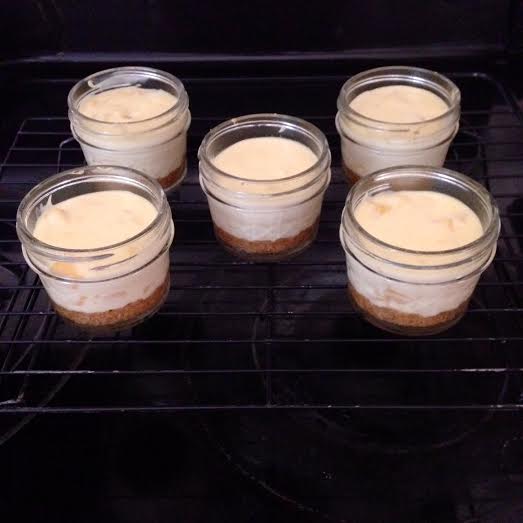
 One happy! One er.. something.
 You can kinda see the faces..