Had a Bad Day

(Sing this to the tune “Bad Day” by Daniel Powter)

“Cause you had a bad day
You seek Alton Brown
You make some cream puffs just to turn it around
You say you don’t know
You tell me to try
You work at a smile and you’re so surprised
Not such a bad day
Not such a bad day”

Besides talking to Boyfriend, whose lips are sealed tighter than the highest security vault and whose ears are never sickened by my perpetual word vomit, I resort to cooking as my stress therapy, especially when he is busy 😛

Another default feel good food are creamy buttery pastries of French descent known as cream puffs or profiteroles. When I was younger my family would go to these Filipino parties, and there would be Titos throwing back beers or smoking and Titas gossiping (chismosas) and trying to sell each other cubic zirconia jewelry pieces. Even though I would enjoy going to these parties because all of the kids would separate into our little groups and go on pretend adventures or play tag or hide and go seek or babysit the younger kids so their parents could eat, I always looked forward to what food would be at the party. Typically Filipino desserts were present – cassava cake, leche flan, puto, kutsinta,- but sometimes, there were these little heavenly puffs of cream inside an eggy-crunchy-sweet husk drizzled with chocolate. I liked those. A lot. I even asked my mom to invite the lady who made them to my birthday party every year just to ensure I would get to eat them at least once.IMG_20140730_050903

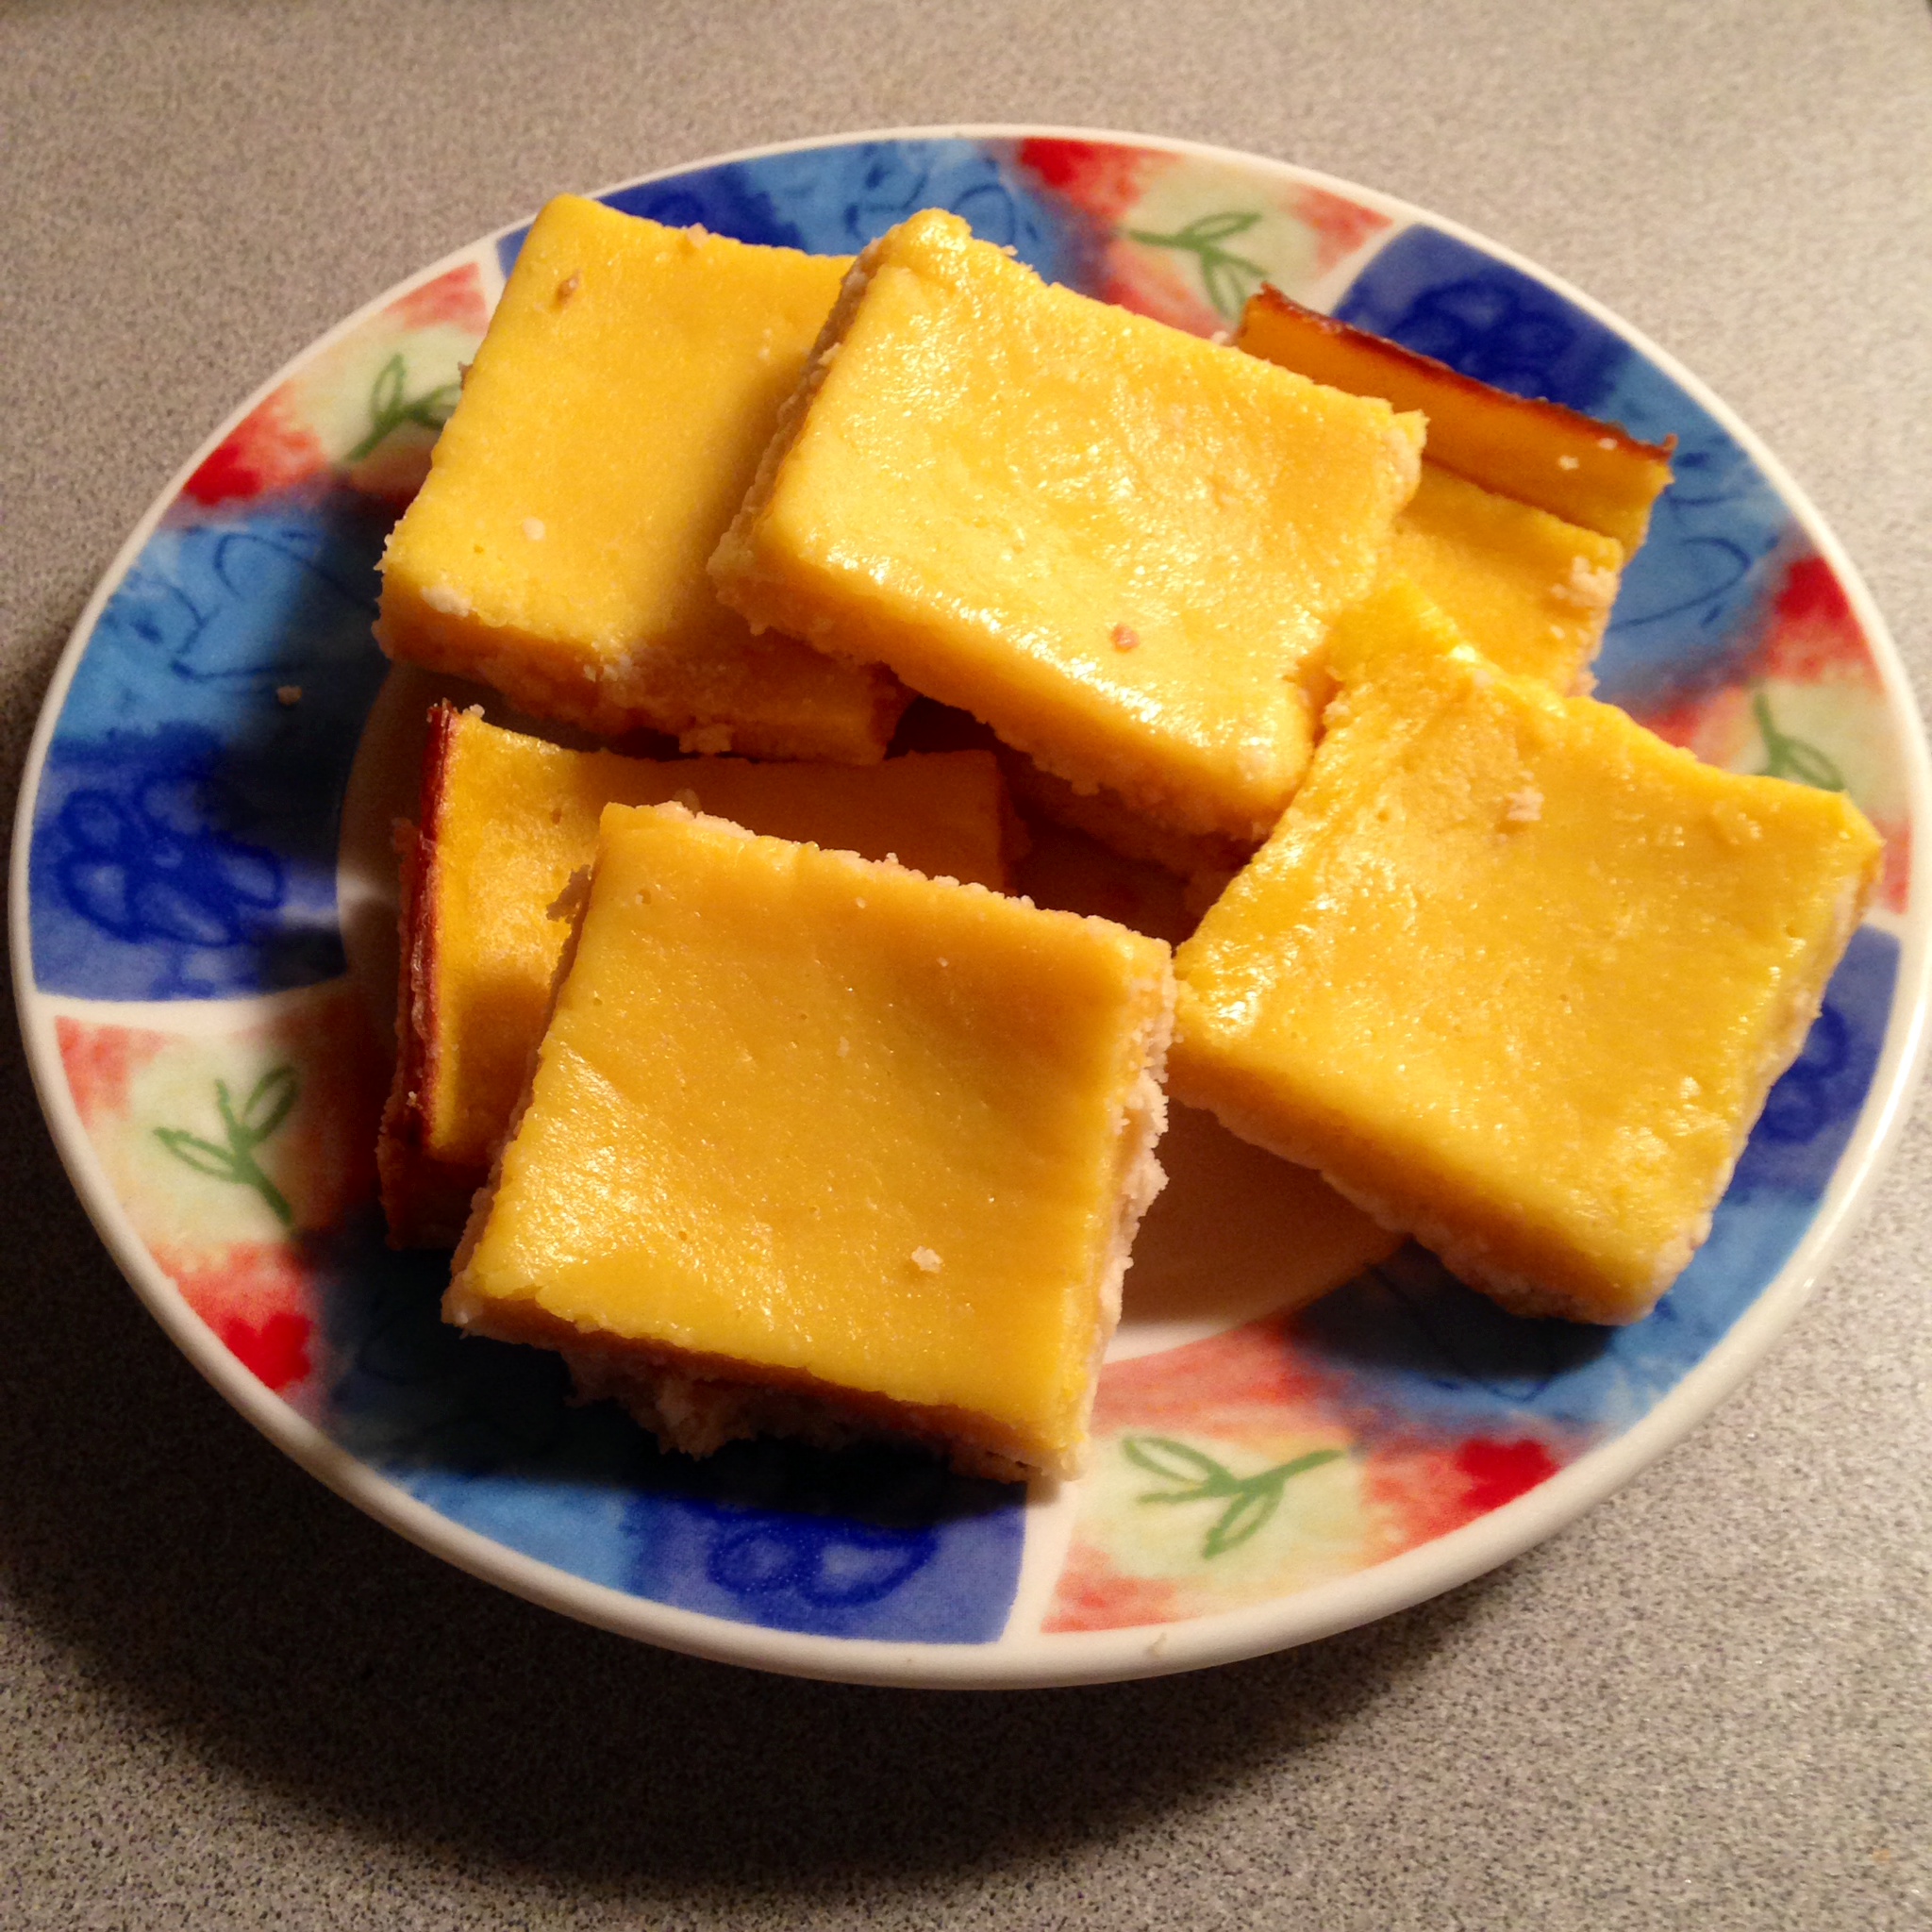
Who knew they were relatively simple to make?  Not me! Oh yeah, I threw in some purple Asiasn flavor for that extra comfort feeling 🙂 Also according to something somewhere, today is national cheesecake day. I didn’t actually make these mini cheesecakes today, but I will include them in this post to commemorate!IMG_20140722_112312

Mini Cheesecakes

Crust

  • 1 cup crumbled cookies (crumbs)
  • 2 tbsp butter (melted)
  • 1/8 cup sugar

Combine all ingredients together and use your fingers to push the crust into your pie plate or mini springform pan(s).

Filling

  • 2 packages of cream cheeseIMG_20140730_113755
  • 1/2 cup sugar
  • 2 eggs
  • 1 tsp ube extract (or other flavor)

Cream the first two ingredients together until smooth and then add the eggs one at time. Add the extract last and mix well. Fill your crust about 3/4 of the way full with filling. Make sure to smooth out the top of the cheesecake to ensure a level product. Bake at 325 degrees F for 20-30 minutes or just until set. Let it cool to room temperature. Note: it is normal for the entire cheesecake to rise and fall after cooling. If the middle sinks in, the cheesecake was not finished baking.

Topping

  • 1/2 cup heavy whipping cream
  • 1/8 cup powdered sugar
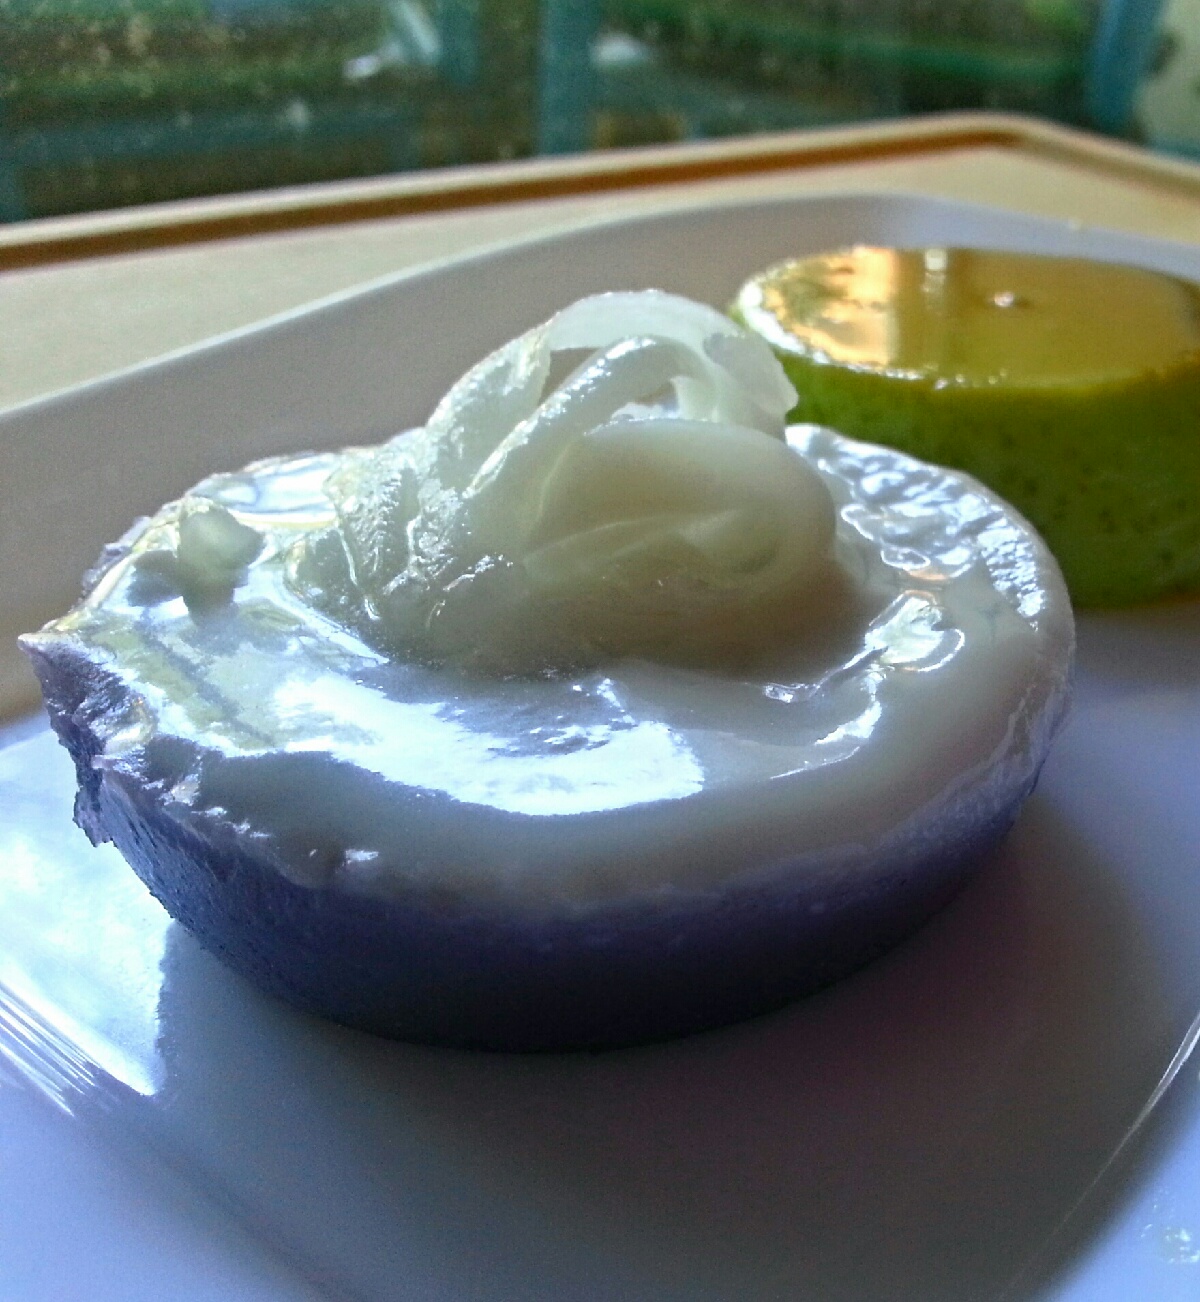
  • 1 tbsp macapuno syrup (sweet coconut)
  • macapuno balls

Whip the first three ingredients together until stiff peaks form. Place into piping bag and decorate your cheesecakes (once cooled). I used the macapuno balls for extra coconut flavor and texture variety. Refrigerate until ready to serve!IMG_20140730_113844

Cream Puffs

Choux Pastry

  • 1 cup water
  • 6 tbsp butter
  • 1/2 tsp salt
  • 1 cup and 3 tbsp flour
  • 4 eggs

1. Preheat oven to 425 degrees F.

2. Bring water, butter, and salt together to a boil in a pot. Add the flour and remove the pot from the heat. Mix the ingredients until a dough is formed. Return to the heat until a ball of dough is formed. Place ball of dough into a bowl to rest/cool for 3-4 minutes.IMG_20140730_113906

3. Using dough hooks, add an egg, one at a time, until fully incorporated into the dough. The dough may appear too runny at times, but before adding the next egg, make sure the dough comes together again.

4. Once smooth, transfer the dough into a piping bag. I found that no tip worked well. Pipe mounds of the dough onto parchment paper (whatever size you prefer – I did about a little smaller than a golf ball.)IMG_20140730_113931

5. Bake in the oven for 10 minutes. Then reduce the temperature to 350 degrees F an bake for 10 minutes again.

6. Alton says to pierce each pastry immediately after baking to let out steam, but I did/didn’t, and they all turned out perfect!

Creme

  • 1 cup heavy whipping cream
  • 3 oz cream cheese
  • 1/4 cup powdered sugar
  • 1/2 tsp ube extract (or any flavor extract)

IMG_20140730_113957Whip all creme ingredients together until less than stiff peaks form. I recommend whipping the cream cheese and sugar first, and then adding the other ingredient to ensure a smooth cream.

Fill a pastry bag with a star tip (or no tip) with the creme and fill each pastry with creme. You can also slice the pastry in half (horizontally) leaving a hinge to connect the top and bottom pieces and fill with creme.IMG_20140730_114040

Not such a bad day 🙂

❤ The Food Scientist

Rub a Dub Dub

Let’s cook food in a tub! Or bath, a bain-marie. “Ban-Mar-ee” pronounced in English translates from French into “Bath of Maria,” and is simply a cooking term meaning water bath. Basically a ‘bath’ of water is heated and another pot or pan is placed inside the bath in which food is cooked due to a combination of insulation and steam. Usually water is filled halfway up the side of the pan inside the bath and the entire unit is closed off with a lid to keep the heat in. This method of cooking is useful for cheesecake and custard makers to prevent cracks from forming and to keep them moist and silky.

IMG_20140720_100220So originally I wanted to make leche flan – a Filipino caramel custard dessert ( in my family made for birthday parties and holidays) – for the local SASE chapter’s 4th birthday party, to commemorate how we all came together in the first place – looking for our own organization to call “home.” At our university we had the National Society for Black Engineers, the Society of Hispanic Professional Engineers, Society of Women Engineers, etc. all established, and yet, there wasn’t an organization for Asian Engineers.

Let our powers combine. Materials! Electricity! Environment! Chemistry! Science! Go SASE! By your powers combined, I am UF SASE! And that’s how it happened…Happy 4th Birthday Florida SASE Chapter!! ❤

Half-peeled

Half-peeled

But really, I went grocery shopping for cream cheese and ended up at the local Asian market. I went on purpose to buy Asian eggplants for my tortang talong, and came home with a large daikon  and a purple sweet potato as well. Okay, okay, I actually went to the market twice to pick up the daikon later after taking an interest in “pseudo-steaming.” My mom always made leche flan in 9 inch loaf pans in a bain-marie, and I thought to myself, “Isn’t it kind of like steaming food?” So what else could I “steam” next?

IMG_20140722_015240Actually I didn’t even know I had a purple sweet potato until I cut it open. Look how purple it was! I ended up googling recipes that used them and half of them had to be translated – which I nixed. At this point I wasn’t sure if I made enough flan for the party, so I found another Asian dessert that happened to be steamed and could hopefully use this tuber. Kuih talam – I don’t know exactly what it means, but it looks like a steamed rice cake, a dessert or snack, and it’s a general term for a two-layered rice cake in areas such as Malaysia, Indonesia, and parts of China. It sort of looked like the Filipino sweet sapin-sapin. I tried my luck with the sweet potato and the bain-marie…Eureka!!

IMG_20140723_121515Buko Pandan Leche Flan

  • 6 eggs
  • 4 oz. cream cheese
  • 1 can condensed milk
  • 1 can evaporated milk
  • ½ cup sugar
  • ¼ tsp buko-pandan extract
  • ½ cup of sugar
  1. Preheat oven to 350 degrees F.
  2. Place pan (that you plan to bake it in) directly on top of the stove grill. Place the ½ cup of sugar in one layer in the pan so that it is evenly spread out. I used an 8-inch round pan or 12-tin muffin pan. If using a muffin tin, see note.IMG_20140722_015614
  3. Using oven mitts, turn the stove on high for 1-2 minutes as the sugar caramelizes in the pan. Use a spoon to get rid of the chunks of sugar, and once completely melted, remove from heat and rotate the pan to make sure the bottom of the pan is coated with caramel.

Note: If you are using muffin tins, I would advise you to heat the sugar in a pan separately first to create the caramel coating and pour it into the separate molds. You should quickly move each mold around to coat the bottoms before the sugar hardens! J

  1. Let this cool for at least 10 minutes while you prepare the filling.
  2. IMG_20140722_015455Blend the rest of the ingredients together in a blender until no lumps are present.
  3. Pour filling directly into the pan and place pan in another (larger) heat safe pan or container. Fill the outside container with water, about an inch high – this forms the bain-marie. Cover the whole unit with aluminum foil.
  4. Place the whole unit inside the oven for 45 minutes to an hour until set.
  5. Let it cool to room temperature before serving or placing in the fridge before serving.
  6. To serve – use a knife to release the edges from the pan. Turn the pan over onto the serving platter. The flan should come out in one piece!

IMG_20140723_121415Purple Sweet Potato Kuih Talam

Special Equipment

  • strainer

Purple Layer (A)

  • 1 cup mashed purple yam
  • ½ cup sugar
  • 10 fl oz coconut milk
  • ¼ cup rice flour
  • ¼ cup tapioca flour

White Layer (B)

  • 8 fl oz coconut milk
  • 2 tbsp rice flour
  • 1 tbsp tapioca flour
  • a pinch salt
  1. Prepare a bain-marie on the stove top. Find a pot or pan large enough to hold your heat proof molds for your kuih talam.
  2. Peel and dice the sweet potato into cubes and place them into a pot of water to boil. Mash them in a bowl when cooked about 15 minutes if chopped into small cubes.IMG_20140722_015214
  3. Mix all of the purple layer ingredients together in a bowl. Strain the mixture through a strainer before pouring into molds. Fill molds ¾ of the way up with this layer.
  4. Place molds in bain-marie and fill the larger pan with water about an inch high. Heat on stove (with lid on) at medium heat for 10-15 minutes or firm to the touch. Remove from heat.
  5. Mix all of the ingredients for the white layer in another bowl and strain through a strainer as well before filling up the rest of the molds.
  6. Place in bain-marie for 10-15 minutes again or until firm. Follow same directions as step 3.
  7. After cooling to room temperature, you can pop the kuih out of their molds and serve. They can be stored at room temperature.

Full steam ahead!

❤ The Food Scientist

A-Vada Kedavra

Screenshot_2014-07-14-00-02-07 (2)A couple of nights ago, sitting at our dining table/laptop desk/circuit shop (like woodshop but with circuitry), I was telling μChip that I was beginning to think our random ingredient generator idea was becoming stale because it seemed to be generating the same ingredients every other week. I mean given that it probably works based off some algorithm there is a high probability that was bound to happen sooner or later. So I said to her (jokingly), “I think I’ll google random country generator (hoping that it wouldn’t result in one of those make-up-your-country’s-name generators, rather one that came up with real countries) and cook something from their culture.” I was looking for new foods to taste and new methods to learn. Without questioning me, we both googled “random country generator” and tried our luck at the first hit.

Interesting, right? I didn’t even know #3 was a country (on its own), and #2 seemed like the easy default in case nothing else worked out. Easy way or the high way? I took the high way, and as a result I chose Suriname. Looking up recipes I found out Suriname is kind of a melting pot just like America – a variety of Asian, European, and African influences. Staying away from desserts (since I dig the umami :P) I came across this Surinamese snack called “bara” which reminded me of one of my boyfriend’s favorite food by description. Huh, I thought. Due to much Indian influence, it turns out they are the same exact thing as my boyfriend’s favorite food, “vada.”

Flashback! So my brother used to work as a body removal specialist for part of the Southeast United States. Basically he would remove dead bodies from crime scenes, suicides, or less exciting nursing homes (he worked for a funeral home). And I used to work in a gross (meaning macroscopic body parts) pathology lab where excised tissue would be analyzed, and my sister, well she thought that maybe she, too, should work in something death related (soon to study nursing) so we could all cross paths. I suppose this seemed kind of eerie or creepy if our parents were to ever discuss with other people what their children were doing. Through my brother I learned that my favorite flower, lilies, are the most commonly associated flower with funeral services. While jokingly teasing at my boyfriend to take me to funeral homes to see them, he mentioned that he, too, would sort of enjoy it because his favorite food is only served at “death celebrations”. What a match! 🙂

IMG_20140716_113147Vada in short are savoury lentil doughnuts and can be for breakfast, a snack, or part of another meal. In southern India, at least in his region, they are doughnut shaped with a hole in the middle; while in other areas they are just round saucer shaped. He likes to eat his with green and coconut chutneys, but he’s not here, so I only made coconut 😛

Let me make a disclaimer: This is the first time I have ever made an authentic Indian food, ever. Some people think I make/eat Indian food all the time – I eat it when I get the chance, but that’s about it. One time I made butter chicken in a crock pot, but my boyfriend says that doesn’t count because butter chicken is essentially American. Oh. Lol.

IMG_20140716_113306Vada

  • 1 cup urad dal (split and skinned black gram lentil)
  • Water
  • salt
  • oil for frying

These following items I added for flavor, but the first three ingredients are the main components technically.

  • ½ bird’s eye chili (chopped) – (more for more heat!)
  • 1 small diced onion
  • 2 tbsp grated coconut
  • 3 tbsp cilantro (roughly chopped) – I ❤ cilantro
  • 1 tsp grated ginger
  • 1 tbsp coriander (dried)
  • a pinch of asafetida (hing)

Method

  1. Soak urad dal for at least 3-5 hours or overnight. Drain the dal but reserve the water in another bowl.
  2. Place the dal in a food processor (though other recipes recommend a wet grinder) to form a thick paste. You can add a few tablespoons of water – one at at time – to help form the paste. CAUTION: You do not want this to be thin and runny. Minimal water is best 🙂
  3. Once paste is formed, empty paste into a bowl and add your mixins for flavoring, or just the salt to taste.

IMG_20140717_102736Shaping – This is supposed to be the most difficult part of the recipe, but I found making the paste the hardest. This was my favorite part!! (next to eating)

  1. Wet your left palm (if you are right-handed) to leave a thin film of water on it, and place a tbsp. of the thick batter on your palm.
  2. Using your other hand, wet one finger to form a hole in the middle of the dollop to form the doughnut shape.
  3. Use your wet fingertips or a butter knife to slip the newly formed vada into hot oil. CAUTION: the oil may splash due to its reaction with the water.

Note: Some sources recommend using parchment paper or plastic wrap with a thin film of water to start.

Frying

  1. Heat up oil in a small pot to medium heat. Drop vada into the hot oil and fry until golden brown.

Eating – Piping hot vada with coconut chutney? I think yes!!

IMG_20140716_113229

❤ The Food Scientist

Car-aoke, Karioka!

Car-aoke is a term that one of my friends, “DJ Soliloquy,” came up with during a car ride down south. It’s her way of saying car karaoke, and I thought it was appropriate for helping everyone else understand how to pronounce the word “Karioka.”

When The Food Scientist first came back from her vacation to the Philippines, she told me about a version of bitsu-bitsu that she wanted to make. I asked my mom about it; and when I read her the description, she said it sounded like a different snack she knew of. Later, I discovered that it was karioka (also spelled “carioca”)! I started researching various recipes, and it sounded absolutely delicious. I think the best way to describe it is as a coconut-infused sesame ball…Minus the sesame seeds. Either way, if you like coconut flavored treats and sesame balls, you’ve got to give this recipe a try! 🙂

Stuffed Karioka

Stuffed Karioka

Since I had ube halaya, langka and macapuno leftover from previous desserts, I decided to use them as stuffing. The Food Scientist has been making a lot of “Three Way” treats lately, which basically means she varies the filling for the foods she makes. While I was working on making my karioka, she was trying to pick out a Mexican-flavored dumpling out of her pile that she cooked for dinner (which also consisted of Indian and Chinese fillings). I told her that it was like playing dumpling roulette. Later in the evening, as I was varying the filling for my karioka, I realized that I forgot which pile was which. She turned to me and asked, “Karioka roulette?” 😀

Anyway, onto the important stuff – how to make karioka. Despite the insane amount of desserts I make, I actually don’t have a huge sweet tooth… so I did a bit of editing to the recipes I found online. Today’s version was inspired by Art of Dessert.

Karioka Recipe:
Makes about 12 pieces

Dough:

  • 1 cup glutinous rice flour (sweet rice flour)
  • 1/2 cup sweetened coconut flakes
  • 1/2 cup unsweetened coconut flakes
  • 3/4 cup coconut milk
  • 1 1/2 vegetable oil (for frying)

Glaze:

  • 1/4 cup coconut milk
  • 1/4 cup brown sugar
  • 1/4 tsp corn starch

Optional Fillings:

  • Ube Halaya (Purple yam jam.. Hehe, that rhymes!)
  • Langka (Jackfruit), chopped into small pieces
  • Macapuno strings (young coconut strings), chopped into small pieces

In a small mixing bowl, combine the glutinous rice flour, coconut flakes and coconut milk. Take approximately 1 1/2 Tbs of dough and roll it into a ball. Stick your thumb in the middle to create a small hole for the filling. I piped about 3/4 to 1 tsp of the ube jam per ball. For the langka and macapuno, I put just enough inside so that I could still close the gap. Once you’ve successfully stuffed your karioka, pinch the dough shut and roll it again to reform the ball shape.

Over medium-high heat, heat up the oil in a small pot. The oil will start forming bubbles when it’s about ready to start cooking your karioka. Using a set of tongs, carefully drop your karioka in one at a time. If you’re using an electric stove, lower the temperature down to medium-level heat or else the pot might get too hot and burn your karioka. I cooked 4 pieces at a time in order to ensure even cooking, but feel free to add more if you’re using a larger pot! Leave them in for about 6-8 minutes or until they turn golden brown.

Karioka1

Once they’ve finished cooking, transfer them to a plate with a paper towel over it. This will help absorb some of the excess oil. Set the plate aside while you create the glaze.

Karioka2

In a small sauce pan, combine the coconut milk, brown sugar and corn starch. Stir constantly to ensure that the sugar doesn’t burn. Roll the pieces of karioka until the balls are completely covered. If you’d like, place about 3-4 balls on each bamboo skewer and serve warm!

Here’s a picture of what the insides look like:

Karioka4

– Chef μChip

Island in the Sun

Alright, I haven’t actually listened to Weezer in a while… but this post is going to be featuring the wonderful food from the Philippines! I’m Chinese-Filipino, and most of my extended family currently resides in the Philippines. As a first generation American, growing up was quite interesting. My parents are multilingual and speak Hokkien, Tagalog and English. Hearing a combination of all 3 languages was the norm for me, so it wasn’t until college that I was able to start distinguishing which traditions belonged to which culture.

Perhaps it is because I will soon be moving to a location with a very small Asian population, but I’ve been going through phases of craving different types of ethnic food. This week (and probably next, as well) has been centered around Filipino cuisine. I’ve been too lazy to post recipes for all the goodies I’ve made, but here’s a quick summary of the recent treats:

Mango Bars

Mango Bars

Maja Blanca

Maja Blanca (Coconut pudding with corn)

Ube Macapuno Empanadas

Ube Macapuno Empanadas (Purple yam and coconut)

Ginataang Mais with Langka

Ginataang Mais with Langka (Sweet rice dessert with corn and jackfruit)

Some of my pictures didn’t turn out too well, so I had to rely on Google to find photos from other chefs. :/ If I remake them, I’ll definitely make sure I take better photos to share with you all!

I think The Food Scientist already mentioned this, but I brought back a bunch of calamansi after my most recent trip home. One of the only times I ever use calamansi is to squeeze fresh citrus juice over some yummy pancit palabok (also known as “fiesta noodles” at Jolibee). This is a bit of a comfort food for me because I didn’t like a lot of Asian foods when I was a child. This frustrated my parents greatly, but they soon discovered that I would eat almost any noodle dish…so palabok was good in my book. 😀

Today was my first time making this dish by myself, so my night consisted of cooking small parts of the dish… and then calling my mom to make sure I was doing it right. I based the recipe off of one found on Panlasang Pinoy.

For the Noodles:

  • 1 lb of rice noodles (I used pho noodles because they cooked faster)

For the Sauce:

  • 2 Tbs vegetable oil
  • 1 Tbs minced garlic
  • 1 Tbs annatto (achiote) powder
  • 3 cups pork broth
  • 1 piece shrimp broth cube
  • 3 Tbs corn starch
  • 2 Tbs fish sauce
  • 1/2 tsp black pepper

For the Garnish:

  • Hard boiled eggs
  • Cooked shrimp
  • Chicharon flakes
  • Scallions (green onions)
  • Calamansi

First, prepare the rice noodles according to the package directions. Some of them require a pre-soak, but since I chose to use pho noodles… all I had to do was boil them for 6-8 minutes until they were done! Palabok1 Next, start making the sauce. Saute the garlic in the vegetable oil in a large pan or wok, if you have one. In another bowl, dilute the annatto powder in pork broth. Then pour this mixture into your saucepan and bring it to a boil. Add the shrimp broth cube and stir. Simmer for 3 minutes. While whisking thoroughly, add the cornstarch. Afterwards, add the fish sauce and ground black pepper. Simmer until the sauce becomes thick. Palabok2 Since it’s used as garnish, I like to prepare my shrimp separately. I thawed some frozen shrimp by putting them in a bowl for water for ~10 minutes. Once they were ready to use, I sauteed 1 Tbs of vegetable oil with about a teaspoon of minced garlic (really, I just eyeballed it…). Then I added the shrimp to the pan and arranged them in one layer so that they would all cook evenly. As they were being cooked, I ground some sea salt and fresh black pepper over them to give them a bit more flavor.

Palabok3

You can tell when shrimp is done because they turn pink and look opaque in color. Mine took about 2-3 minutes per side.

After I prepared the rest of my chosen items for garnish, it was time for plating! Here’s what the final product looks like:

Palabok4

Side note: Palabok normally has tinapa (smoked fish) flakes added to it, but I couldn’t find any after searching a couple of the Asian stores in town. If I had found them, then I would definitely add them for a more authentic Filipino taste. There’s also a couple more ingredients you can add to the dish to make it more savory. Some like to add ground pork or beef to the sauce, but my favorite parts have always been the egg and shrimp… so I was content with just those two.

Hope you enjoyed this small journey to the east! What foods have you been craving lately?

– Chef μChip